
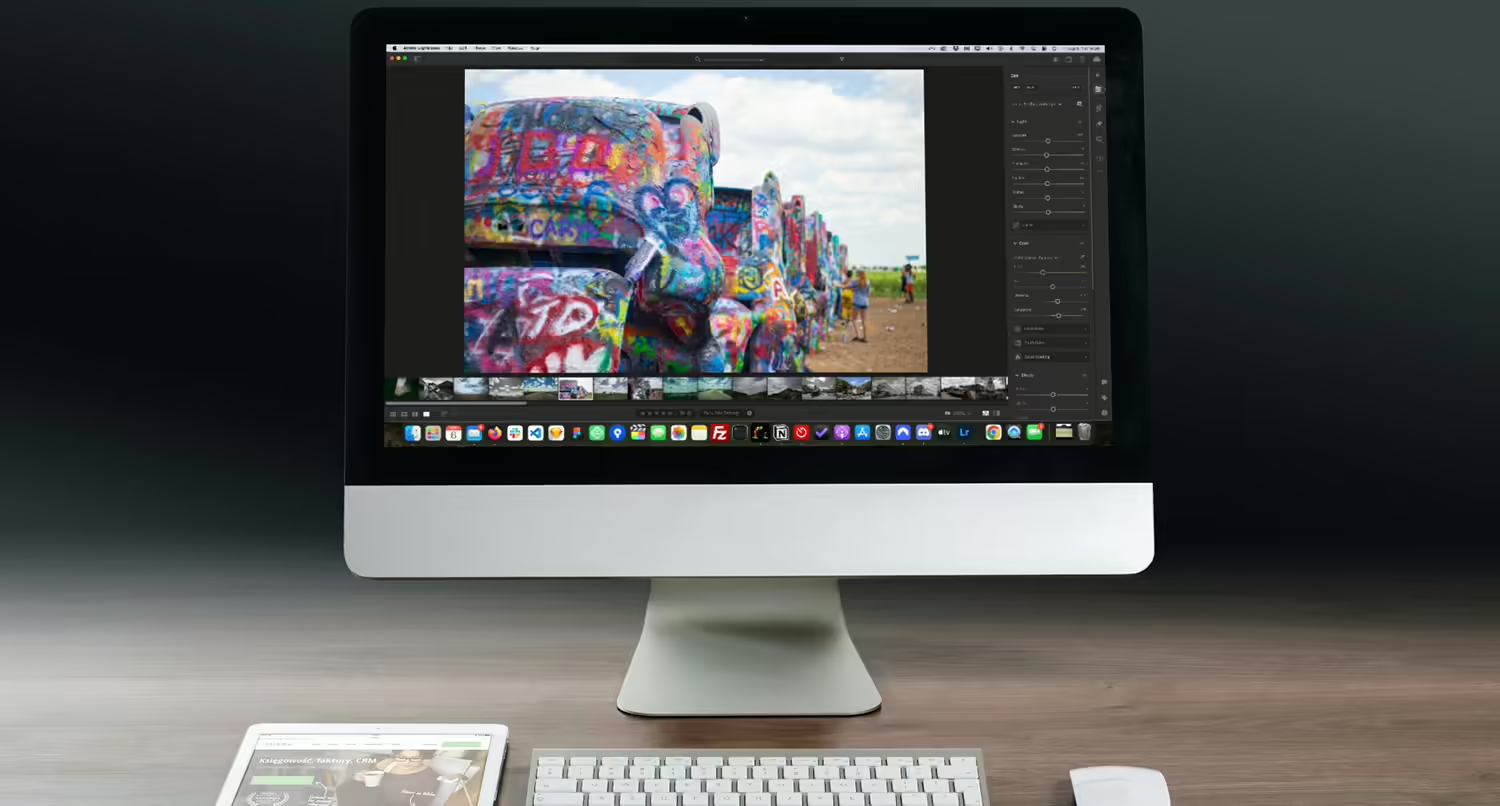
How to Edit Landscape Photos in Adobe Lightroom

After you take your landscape photos, you’re going to need to edit those photos to make them look spectacular.
Editing landscape photos is something that you honestly just get better the more you do it. While you can read documentation, take courses and watch YouTube videos to get the basics, the best learning comes from doing it.
You’ll start to learn what works for you and what doesn’t. You’ll find out what you like and how you want your photos to look. And you’ll develop your own style.
But it can be a little bit intimidating to start. There are so many different things to try and settings to change that can make it feel overwhelming.
So here are some tips for editing your landscape photos based on my experiences trying to craft the best photos.
Selecting Which Photos to Use
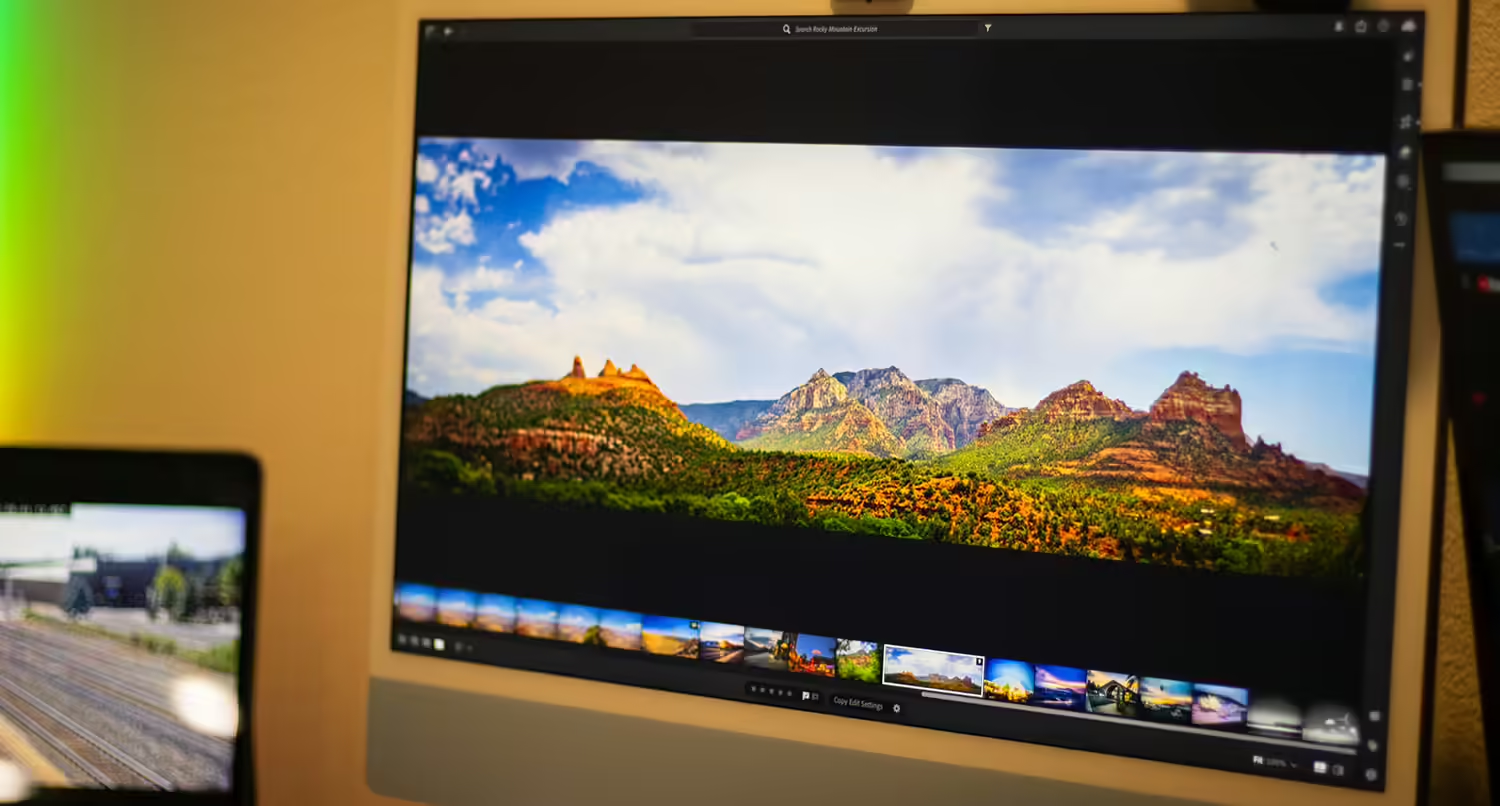
The first thing I do when I get into photo editing mode is to find the best photos that I want to edit.
The thing with photo selection is that you really have to have a harsh eye. You need to determine if that’s really the right photo that you should be choosing. You need to make sure that you sort of take the emotion out of it, step back and find the absolute best photos that you’ve taken.
This is where Adobe Lightroom really becomes a big help. The flag system where you can flag photos as picked or rejected is key. I like to take several passes at the photos I’ve taken and start to flag them as picked or rejected, each time deleting photos that I’ve rejected.
After two or three passes through the photos, I’ve made sure that I have the absolute best photos from that day or trip that I’m now going to edit to make them look amazing.
So don’t overlook the photo selection process when you’re editing the photos.
Find the Right Lightroom Preset to Start With
Another thing that can help make the photo editing process quicker and easier for you is to use presets that can get the photo most of the way there.
You can use the default presets that come with Adobe Lightroom or you can download or purchase presets that others have created that can stylize your photos.
But the best approach I’ve found is to get the first photo of the group to look good and how you want it to look first, and then you can create a preset based off of that photo or copy and paste those settings (CMD/Control + C on the image and CMD/Control + V on the image to add the styles to) to other images that look similar.
This will all help quicken the process and make it feel less overwhelming since now all you need to do for each image is make smaller adjustments to get them to look just right.
Presets really are your best friends when it comes to photo editing.
Small Adjustments to Get the Right Look
Once you got the preset in place for an image, now it’s time to make smaller adjustments to make it look perfect.
This is where a lot of trial and error is going to be handy. There isn’t going to be one right or wrong way to make these adjustments. You’re going to have to play with the exposure, contrast, saturation and other settings to see what works or doesn’t work for that photo. The good news is that you can see the effects your changes are having immediately and you can revert any changes you don’t like.
A couple of tips I would give would first to make sure you’re not overexposing the photo. Most of the time if I’m adjusting exposure, it’s actually to lessen the exposure so I can see the landscape and the sky better.
Also, lowering exposure, highlights and whites while raising shadows and blacks will help you see the sky better even if it’s kind of washed out in the original.
And finally, if you’re taking photos of mountains in the distance, dehaze is going to be your best friend. Raising that about halfway from its default position will help you see the mountains better, especially if it’s a summertime photo with humidity.
But take your time to make sure you make just the right changes to get your photos looking amazing.
Exporting the Photos Through Lightroom
Finally, once you’ve got your photos looking perfect, it’s time to export the photos.
This is a pretty simple part of the process, especially compared to what we’ve just done. But there are a couple of tips I have here.
First, unless you are uploading your photos to your website, you should go for full size and 100 percent quality. You’ve taken a lot of time to capture and create the perfect photo, so don’t drop the ball now and export a lesser quality photo.
Instead, make sure it’s full size with the full quality. That way it looks great both on a screen and if you take it to a photo printing service like Easy Canvas Prints or a CVS photo lab to get a print of the photo to hang on your walls.
If you are uploading it to your website though, you will want to limit it to 2,000 pixels wide and have an image quality between 50 and 70 percent. This will keep the file size to a minimum which will help you avoid filling up your file space and make loading your site quicker since it’s not as large of an image.
And finally, if you don’t want people to take your photos, you might want to consider creating a watermark on the image. Lightroom makes it super easy to import an image to use as a watermark and place on all of your images.
But when you’re ready, export your photos and share them with the world. You’ve put a lot of effort into this. Be proud of what you’ve done!
Related Posts
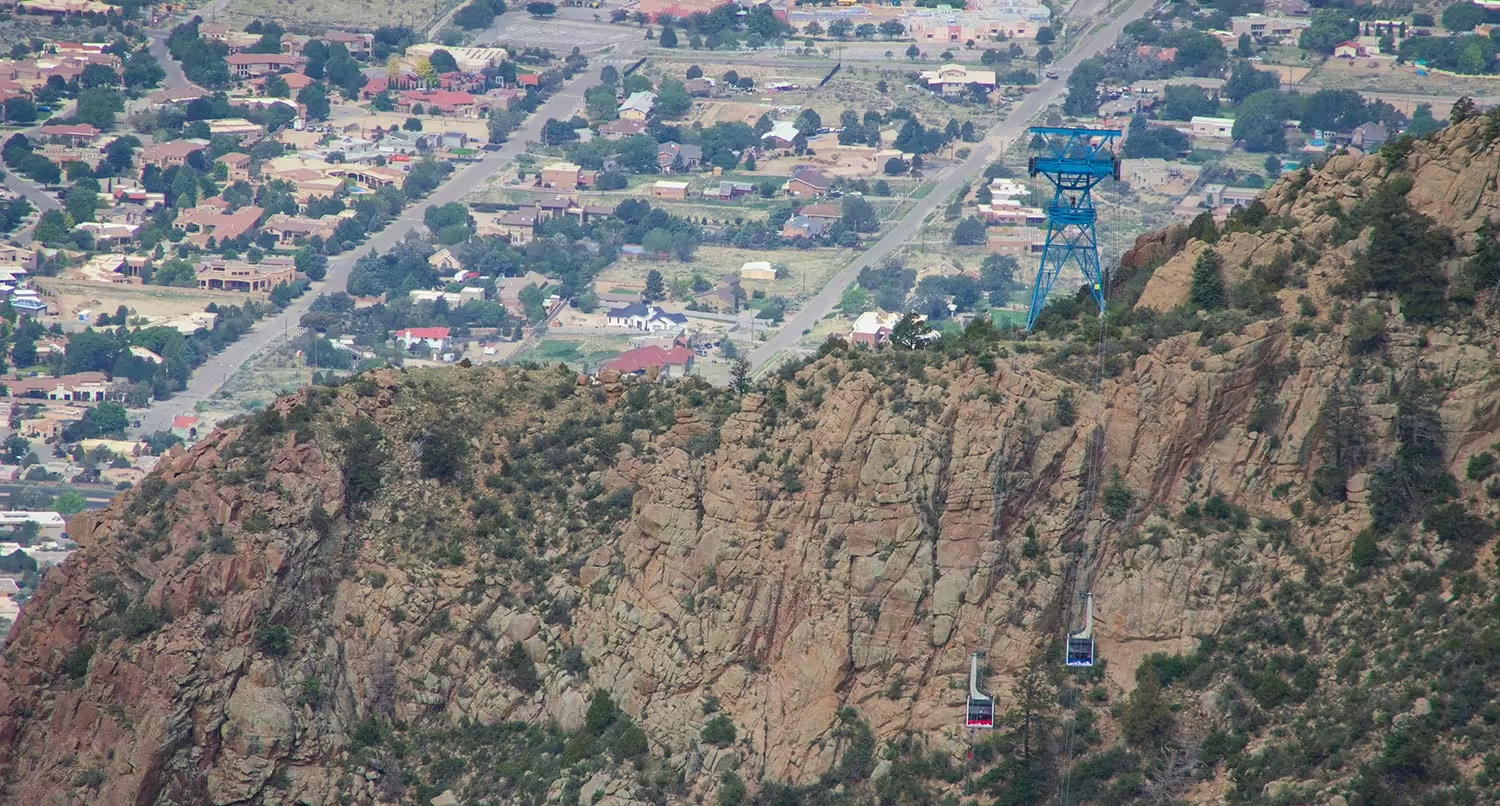
Trip Report: Sandia Mountains
Standing at over 4,201 feet above the town of Albuquerque, New Mexico, the Sandia Mountains stand out prominently in the central part of the state. And it’s amazing at the top. Here’s how our trip to the top of Sandia Peak went.
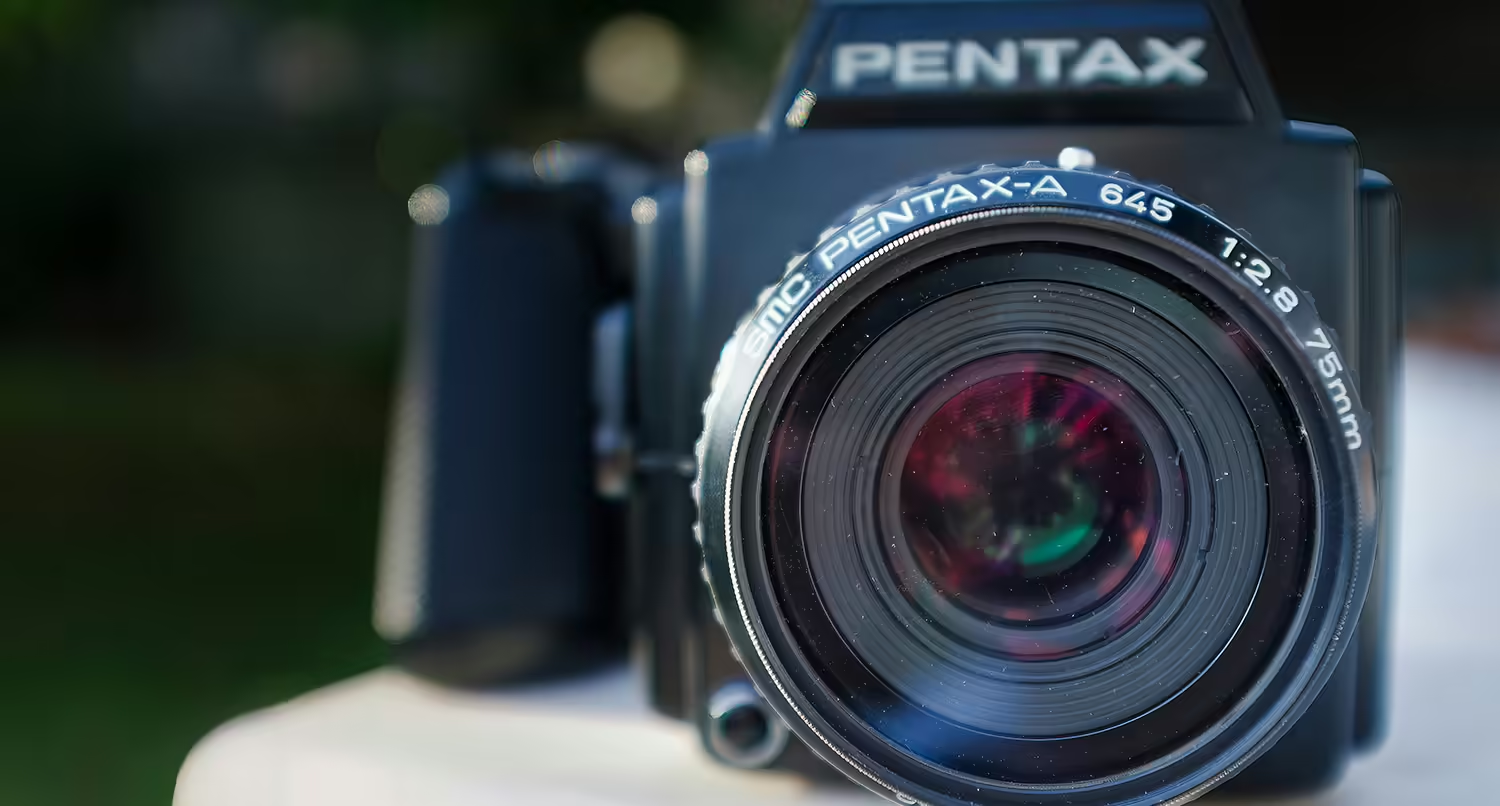
What is the Camera Aperture?
Have you ever wondered how photographers are able to capture a subject in full focus but blur the background so that the subject truly stands out? A lot of that comes from the aperture size you use for a photo. So let’s dive into learn more about the aperture.
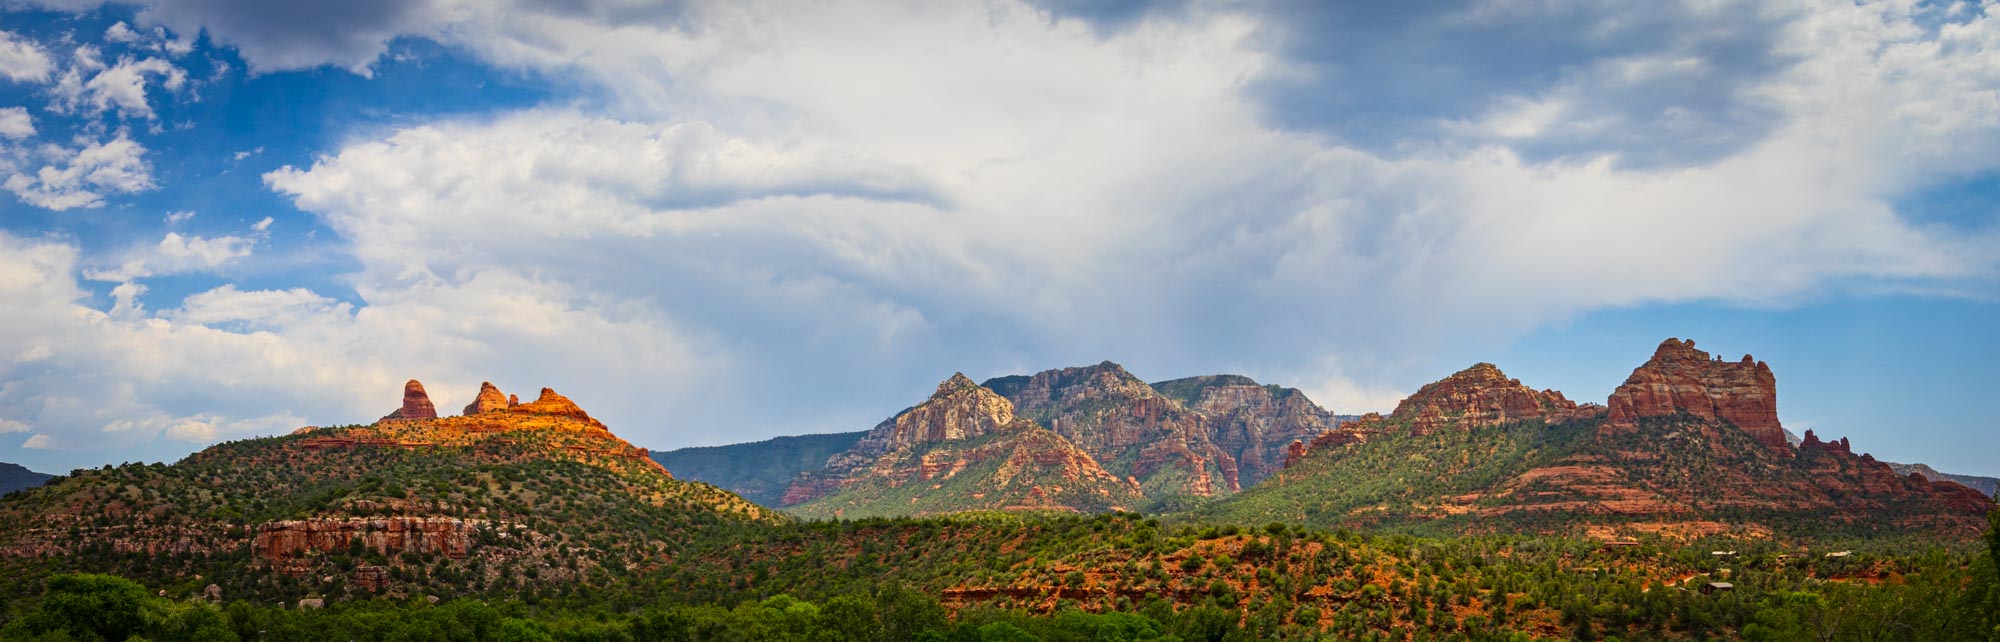
How to Create Panoramic Photos in Lightroom
Panoramic photos produce some of the best photography out there. You can show so much more of the scenery in one photo than you could with even a wide angle lense. And Adobe Lightroom makes creating a panoramic photo super easy.