
Using Adobe Lightroom to Edit Your Photos
If you’re getting serious about getting into photography as a hobby or something more, one tool you’re going to need in your toolbox is Adobe Lightroom.
This simple application for your computer provides a ton of power to help you take your photos and turn them into something spectacular.
Just like a Lightroom helps film photographers develop their film photos, Adobe Lightroom helps digital photographers develop their photos by adjusting settings like exposure, saturation, contrast and so much more.
And it’s something that you’re going to need if you want to give your photos that touch up to make them extra spectacular.
So let’s dive into Adobe Lightroom and how you can use it to develop your digital photos.
What is Adobe Lightroom?
As I mentioned before, Adobe Lightroom helps you take the photos you’ve taken on your digital camera and turn them into amazing photos.
The application allows you to import photos that you’ve taken and edit them to really make them stand out. You can change the exposure, contrast, saturation, color tint and more to give them the perfect look that you want.
And you can create your own presets or import presets to help you give you a head start when editing your photos.
Also, it features other powerful tools like photo merges and panorama merges to help you combine your photos to create an incredible photo.
Unfortunately, there is a monthly subscription fee that you have to pay to use Lightroom. You can use Lightroom by itself for $9.99 a month, but you can also bundle Photoshop with your subscription for the same price. That’s not too bad of a deal.
Plus, depending on the subscription you choose you’ll also get storage space in the Adobe Cloud for your photos.
All in all, it’s one of the best tools you can have in your photography toolbelt that isn’t your camera.
Creating Folders and Albums
The best thing you can do in Lightroom before editing your photos is organize them in a way that makes sense for you.
Lightroom offers you two different ways to organize your photos. The first is albums, which you can create to store photos from a trip, day or however you want to organize your photos.
The second is folders, which you can use to organize your albums however you want.

For example, if you have clients for your photography, you can create a folder for each client and then an album for each shoot you do with that client.
How you ultimately organize your photos is up to you, and you can even change your method of organization later.
But it’s definitely worth having a strategy of organizing your photos before you get started.
Importing Your Photos
Once you’ve taken your photos, you’ll need to import them into Lightroom.
First, make sure that you have your SD card connected to your computer, and then create or enter the album you want to add these photos to.
Then hit “Add Photos” in the left-hand column of the screen.
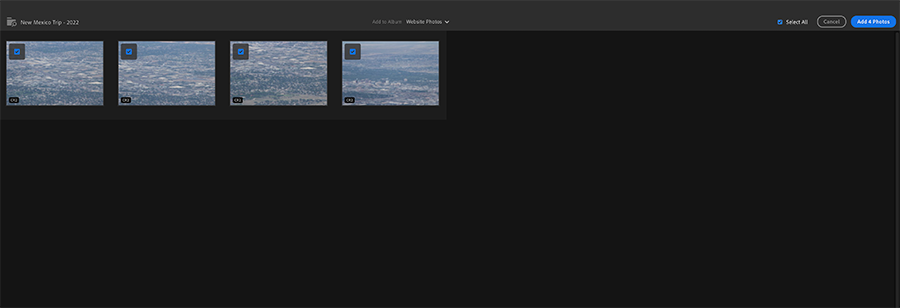
In the window that pops up, select the photos that you want to import to the album. Once you’ve done that, another screen will appear where you can review the photos you’ve selected before finally importing them into Lightroom.
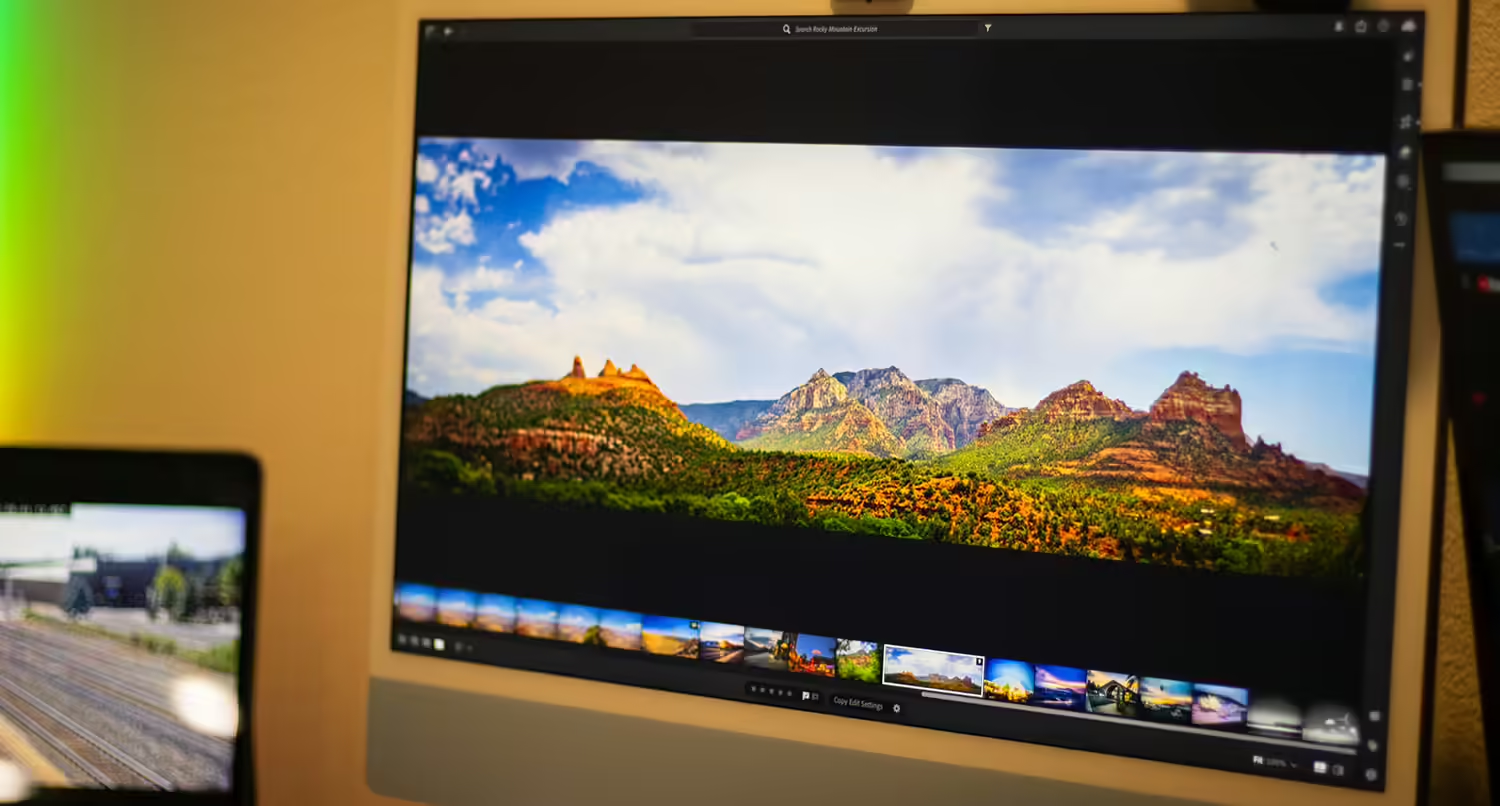
Once you’ve imported the photos, it’s time to edit them.
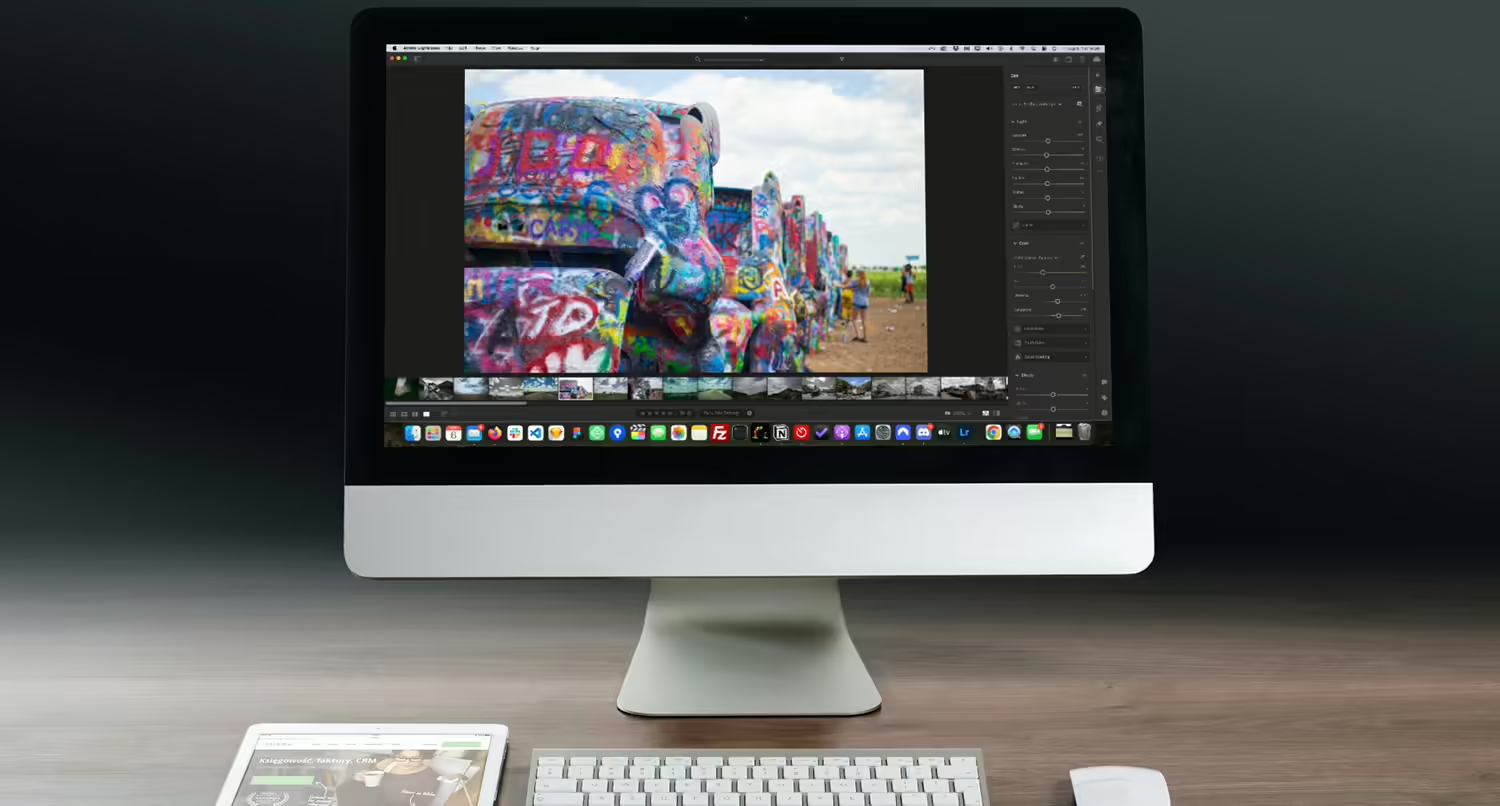
Editing Photos in Adobe Lightroom
Now that you’ve imported your photos, it’s time to edit them to give them the perfect look. This is where the power of Lightroom really comes into play.
Using Flags to Choose Your Photos
The first thing you need to do when editing an album of photos is to choose which ones you’re going to use and which ones you’re going to delete.
Lightroom can help you out with this by using its flag system.
As you go through your photos and determine which ones to keep, you can flag them as “picked” or “rejected”. Rejected photos will then be grayed out in either of the grid views.
Then you can use the rejected flag as a filter in the search area so you can delete all of the rejected photos in one go.
It’s a great little system that makes the process pretty darn quick.
Adjusting the Settings
Once you’re actually editing the photos, you have a ton of options to help enhance your photos.
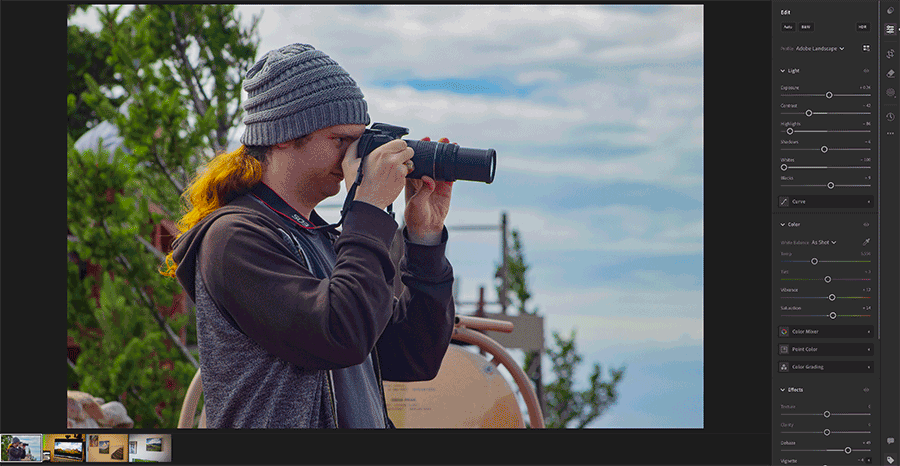
In the light section, you can adjust the following settings:
- Exposure — controls the brightness
- Contrast — determines the contrast between light and dark parts of the photo
- Highlights — controls the brightness of the light parts of the photo
- Shadows — controls the brightness of the dark parts of the photo
- Whites — sets the white point of the photo
- Blacks — sets the black point of the photo
In the color section, you can adjust the following settings:
- White balance — establishes the true color of white for the photo
- Temp — determines how warm or cool the colors in your photo look
- Tint — determines how green or purple colors in your photo look
- Vibrance — adjusts the saturation of the photo without overdoing it
- Saturation — controls the level of all colors in the photo
In the effects section, you can adjust the following settings:
- Texture — controls the level of texture appearance in the photo
- Clarity — controls the contrast between edges in the photo
- Dehaze — adds or removes haze to the photo
- Vignette — adds a white or black edge to the photo
- Grain — adds grain to the photo
You can also control the sharpening of the image and reduce noise in the photo.
How much you need to adjust these settings depends on the photo and what you want to do with the photo. Typically, you shouldn’t move them too much in any direction, but there are always exceptions to the rule.
Using Presets
Lightroom also has presets you can use to speed up your editing process.
Presets are basically saved levels of each of the settings mentioned above to make a photo look a certain way. For example, I have a custom preset for mountain photos that allow me to make a mountain photo look good with just one click.
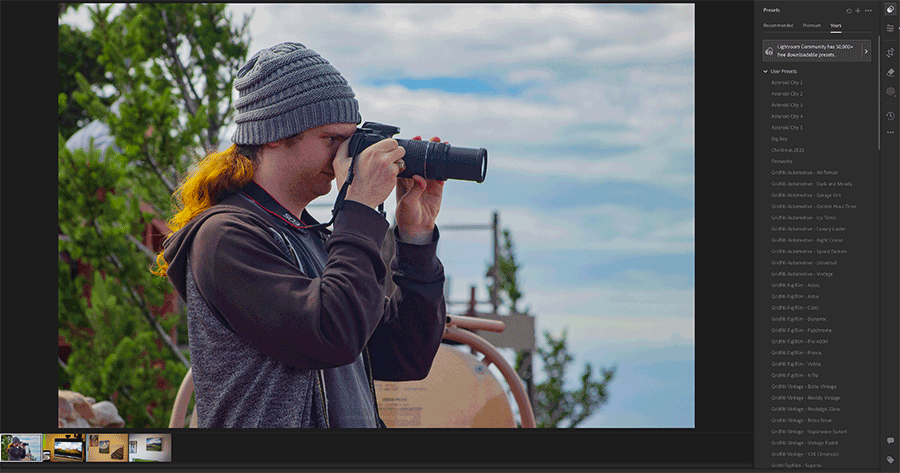
You can use the default presets in Lightroom, create your own presets or even import presets you purchase and/or download from the internet.
You will still probably need to make small adjustments to a photo after applying a preset to get it looking just right. But they still will save you a ton of time when editing a large gallery of photos.
How to Get It Just Right
Honestly, getting the photo looking just right really depends on you.
There’s no one right way to edit a photo in Lightroom. And to be honest, different types of photos are going to be edited in different ways. A portrait of someone might just need slight adjustments and touch ups whereas a landscape photo might warrant heavier edits if you want.
So you really just have to play around to see what works best for you. Make small changes or swing for the fences with big changes. Try different presets. Make mistakes. Try something new. Figure out your own style.
The good news is that unlike with film photography that’s permanent, with Lightroom you can undo any change that you don’t like or even hit the reset button to start back at square one.
The possibilities are almost endless.
Creating Panoramas
Another really cool tool with Lightroom is the ability to create panoramas quickly and easily.
This is something that I’ve covered in a different blog post, which you should go check out.
But I just wanted to make you aware that that’s something you can do with Lightroom.
Exporting Photos
Finally, now that you’ve edited your photos, it’s time to export them so you can share them online or use a print lab to create spectacular prints you can hang in your home.
To get started, right click on the photo you want to export and hit “Export”.
The screen that appears will show a number of different options.
The first set of options controls the quality of the image. If you want the image to look the best that it can look, like printing it out to hang on a wall, you want to make sure that it’s full sized with 100 percent quality. If you’re uploading it to a website or posting it on social media, limiting the size to 2,000 pixels wide and an image quality of around 60 percent should be fine.
But what works best for you will likely take some tinkering.
Next, you can add a watermark to the image if you want.
Finally, you can choose how you want to name the image. You can choose to use the original file name or choose a custom name for the image. If you’re exporting a group of images, you can also choose to give them each a number at the end that counts up with each photo that’s exported.
When you’re happy with how the settings look for the image, hit “Export” and congrats, you have now exported your first image from Lightroom. Go share it on social media or print it out to hang on your wall. And then repeat the process all over again!
Tags:
Related Posts
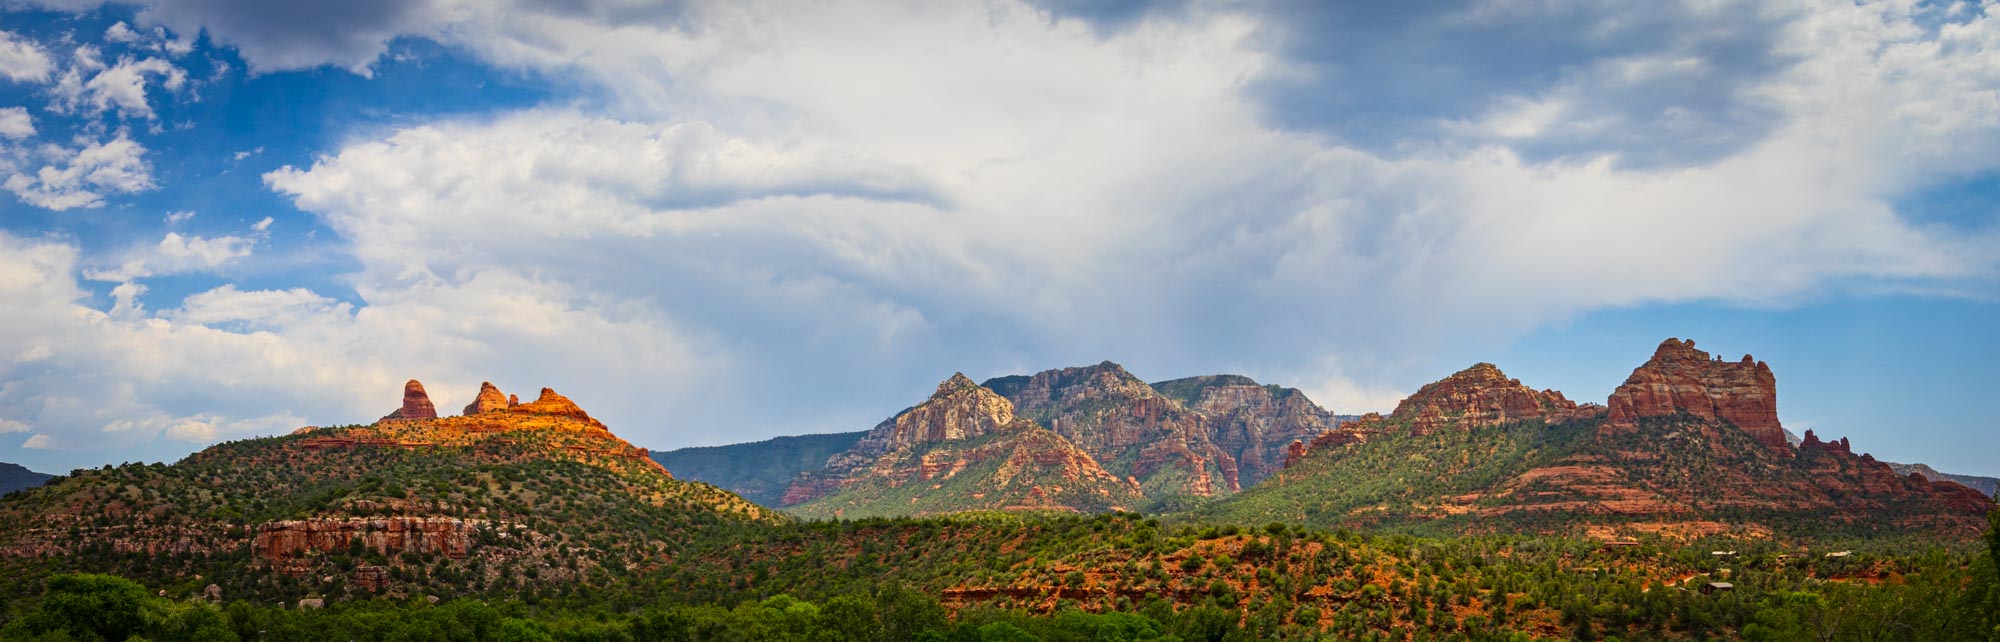
How to Create Panoramic Photos in Lightroom
Panoramic photos produce some of the best photography out there. You can show so much more of the scenery in one photo than you could with even a wide angle lense. And Adobe Lightroom makes creating a panoramic photo super easy.

How to Edit Landscape Photos in Adobe Lightroom
After you take your landscape photos, you’re going to need to edit those photos to make them look spectacular. So let’s take a look at how you can use Lightroom to touch up your landscape photos.
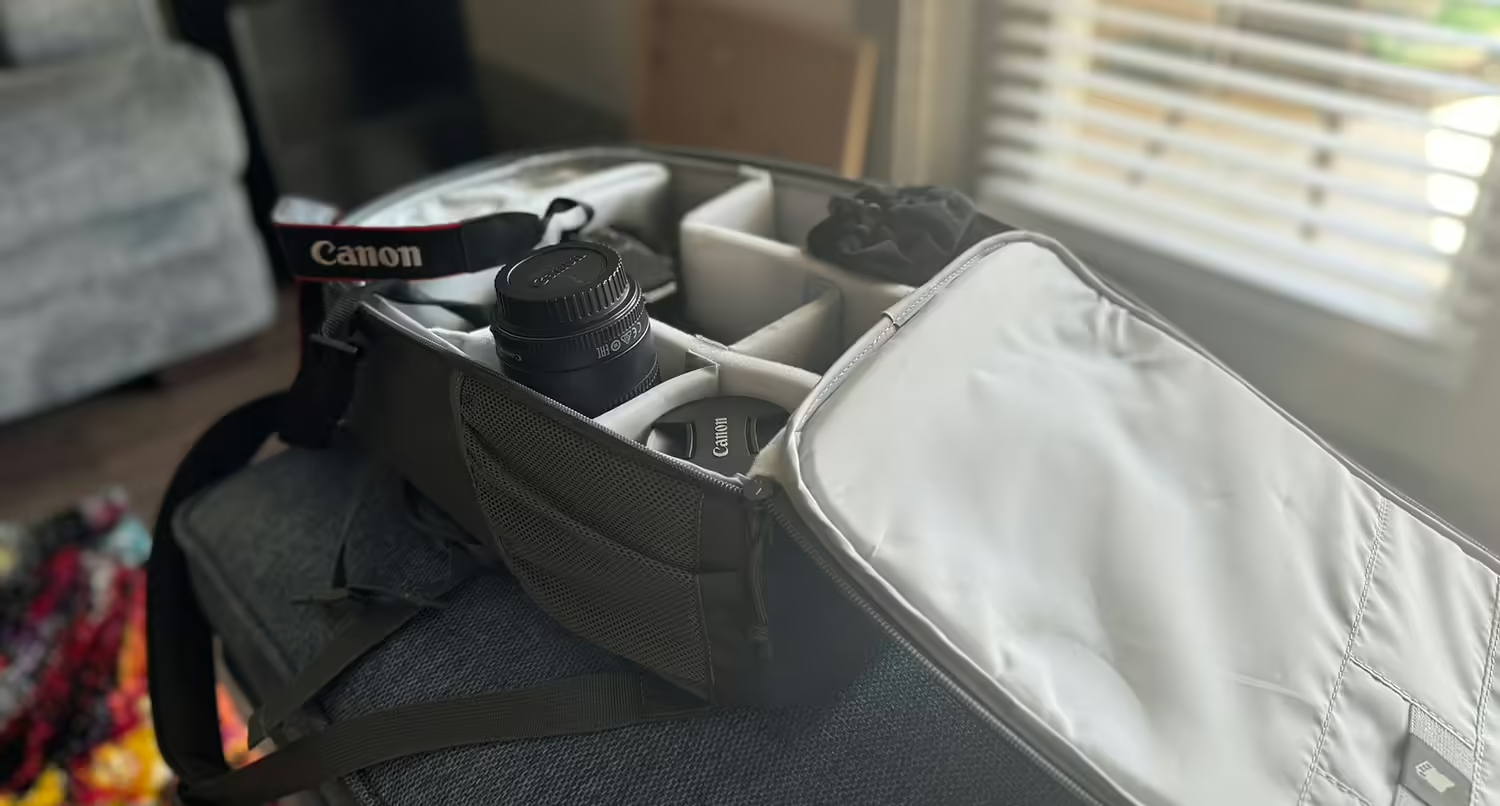
What’s In My Camera Bag?
What’s in your camera bag? It’s a question that a lot of people new to photography ask those who have been doing it for a while so they can get an idea of where to start. So here’s what I have in my bag.