How to Take the Perfect Christmas Card Photo
It’s finally November, “All I Want for Christmas” is playing and you’re trying to figure out one thing: how to take the perfect Christmas card photo this year.
Every year it’s a challenge. You have to wrangle your family to get in the right clothes, drive out to the location and fidget with the camera to get just the right shot. And in the end, there’s about a 50-50 shot that you end up with something usable.
That’s absolutely frustrating.
But if you know what you’re doing, getting a Christmas card photo that looks stunning isn’t that hard. That knowledge can help you understand how to use lighting, get the right location and edit the photo so that you come out with something you’re actually proud of.
So let’s dive into how you can take that perfect Christmas card photo this year.
Figure Out a Good Location for Your Christmas Card Photo
Location, location, location.
It’s the key phrase in real estate. And it’s a key part for any Christmas card photo.
Now, the exact location is up to you and what you want for your photo. But let’s take a look at a couple of factors you should consider when picking your location for the photo.
The first is to make sure the place has good lighting. We’ll talk about this more in another section, but lighting is the biggest part of any photo. If you take a photo with bad lighting, it’s nearly impossible to make that look good.
So make sure that you can get good lighting on your family at that location for the best possible photo.
The second is to consider what’s in the background. Ideally you want something solid in color behind you. That could be a sky or maybe a nice wall or even trees in a forest. But make sure that it’s something you and your family can stand out in when standing in front of it.
I can’t believe I’m saying this, but y’all are the center of attention in this photo. You don’t want to have a background that is distracting or makes you blend in with it.
A nice background will help you stand out in the photo without having to do any extra work.
Use a Tripod
A tripod is an absolute must for any family photo, but it’s especially important for your Christmas card photo.
For starters, it’s going to allow you not to have to take a selfie style photo or need to ask a stranger to take the photo for you. That’s a big plus, as far as I’m concerned.
And that’s going to allow you to have a much better photo.
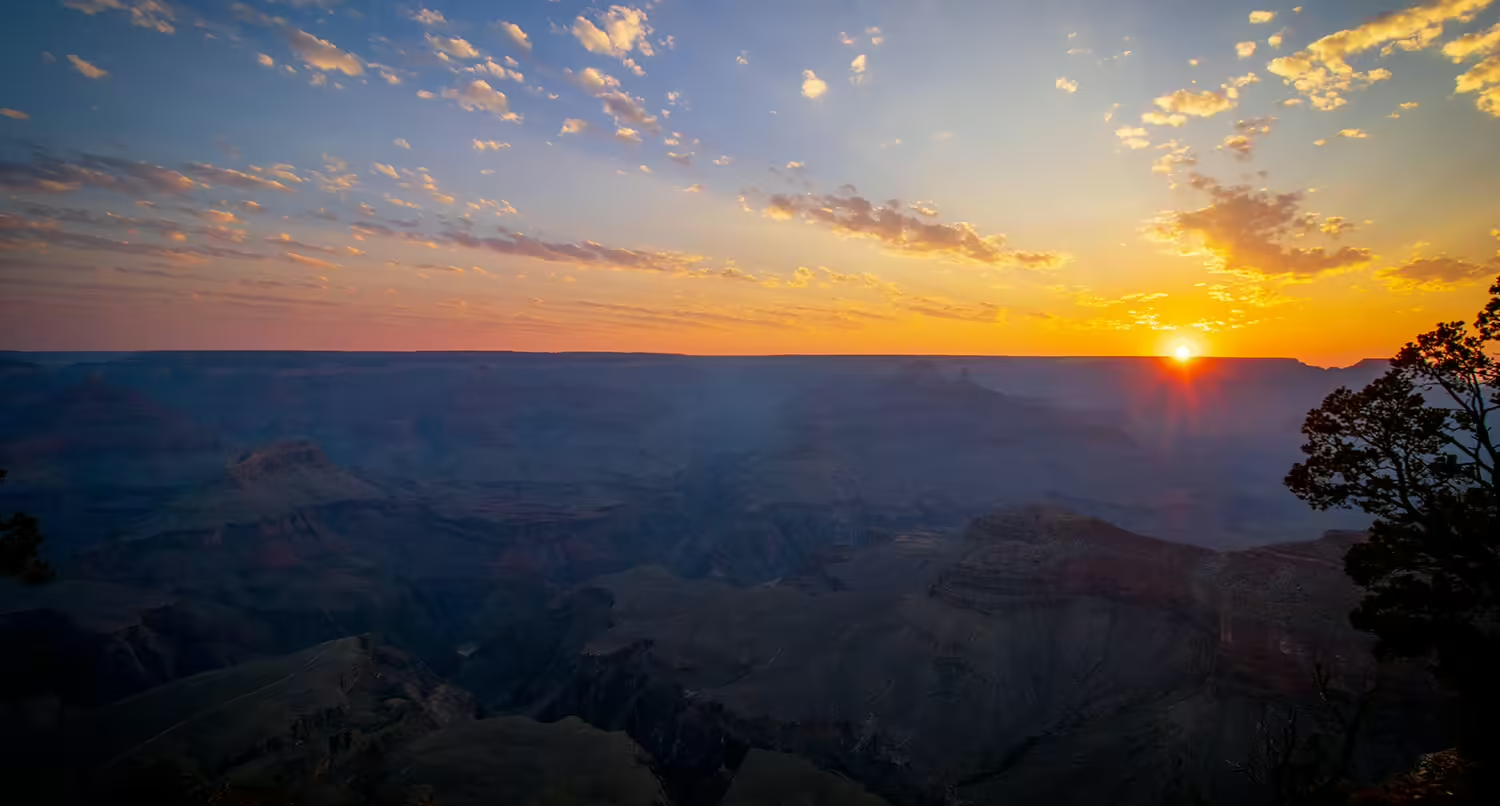
You’re going to be able to set the camera up where you can have an interesting background behind you. For this year’s Christmas card photo, the tripod allowed us to have an interesting angle of the Grand Canyon as our background.
Also, it’s much easier to figure out the positioning of people in the photo. You can try out different ways to see what’s going to work the best. All the person looking through the viewfinder needs to do is slot into where they need to be.
For the best results, you need to have a tripod.
Get the Best Lighting You Can for Your Christmas Card Photo
As I mentioned before, lighting is the most important part of any photo.
After all, that’s what a photo is. It’s capturing light onto a piece of film, or in this digital age, onto sensors that project the image onto digital pieces of film.
So you need to get the best possible lighting for your Christmas card photo.
How do you do that?
First, make sure that your photo isn’t backlit. That is, make sure the main source of light isn’t coming from behind you. For example, don’t have the sun at your back. That’s going to more or less blind the camera, and you’re not going to be able to see anyone clearly.
Now you could use a fill light that lights the background if you want, although that’s more on the professional side. But make sure that the main source of light is in front of you.
Second, make sure that you don’t have light and shadows going across people in the photo.
It is okay if you take your photo in the shade. It is okay if you take your photo in sunlight. But it is not okay to do both at the same time.
For starters, that’s going to make editing the photo later to make everyone look the same much much harder, if not downright impossible.
And second, it’s incredibly distracting to have weird shadow shapes going across bodies in the photo. Remember, you’re the center of attention here, so don’t let anything distract from that.
So before you snap the photo, make sure you have the perfect lighting for the setting.

Aim for the Golden Hour
One way you can get the perfect lighting for your photo is to take it at golden hour.
Golden hour refers to the time after sunrise or before sunset where the light from the sun appears golden. Since the sun is at a lower angle in the sky, it has more atmosphere it has to travel through to get to you, which means a lot of the light is filtered, resulting in the golden ambience.
And this can create the perfect type of light for your photo. In fact, many photographers aim to use this as their time to take outdoor photos.
Now, the golden hour isn’t any one set time throughout the year. And in fact it can sometimes not even be an hour. It could be an hour or it could be five minutes or it could be anywhere in between.
It’s a good idea to take time to figure out when the golden hour is in your area before you take your photo. That way you have a general idea of when in the day is the perfect time to take your Christmas card photo.
Use a Remote Shutter Release
Along the same lines as using a tripod, you’re probably going to want to use a remote shutter release.
A lot of times when people use a tripod for Christmas card photos, there’s one person who sets up a 10 second countdown timer, presses the shutter button to start the timer and then rushes into position for the photo.
While this works some of the time, the result is that the person moving is rushed and might not look great when the photo is taken. Which can lead to repeated takes and frustration.
But a remote shutter release avoids this problem.
You can set the 10 second countdown timer for the camera and then trigger the shutter while you’re already in position. All you have to do then is hide the release and you’re good to go.
I’ve done this the past couple of years and it’s simply amazing. There’s no more rushing to get into position and missing the photo.
And the good news is that it’s easier than ever to get a remote shutter release. While there are physical versions of the releases, whether via cables or Bluetooth, most camera makers have smartphone apps that can become your remote shutter release. I know Canon has one for nearly all of their cameras.
So work smarter not harder and use a remote shutter release to make sure you’re in position for every photo.
Take Multiple Photos
When you’re trying to capture the perfect Christmas card photo, you don’t just take one and call it a day.
Instead, you need to take multiple photos to give yourself options when you’re going back through and editing them.
What happens if you take just one photo and find that some had their eyes closed? Or what if an animal of some sort gets into the shot in a way you don’t like? Or what if there’s some other imperfection that you don’t like?
If you’ve taken only one photo, you’re just out of luck. But if you’ve taken multiple photos, you at least have options to find the perfect one.
Now, I know if you have small kids or kids that don’t like taking photos, this can be quite the challenge. And really, you don’t need to take a million photos either.
But aim to take 5-10 photos for each shot or pose so that you have a lot more options when editing later and to give yourself a better chance of taking the absolute best photo possible.
Touch Up Your Christmas Card Photo in Lightroom
Finally, you’re going to want to touch up your photos by editing them in Adobe Lightroom.
Lightroom allows you to adjust the exposure, contrast, saturation and a bunch of other settings you can use to make the photo look a lot better.
Cameras these days can do a pretty good job of capturing photos, but they still might not look exactly like the setting looked like or how you want them to look. That’s just how it goes.
So you’re going to have to edit your photos. Every year I have to edit our Christmas card photo no matter how well I’ve got the lighting, aperture and shutter speed.
Unfortunately, there is a monthly subscription fee that you have to pay to use Lightroom. You can use Lightroom by itself for $9.99 a month, but you can also bundle Photoshop with your subscription for the same price. That’s not too bad of a deal.
Plus, depending on the subscription you choose you’ll also get storage space in the Adobe Cloud for your photos.
But for the absolute perfect Christmas card photo, you’re going to need to edit it before you send it.


