
Tips on How to Take Landscape Photos
Landscape photos are some of my favorite type of photos I take.
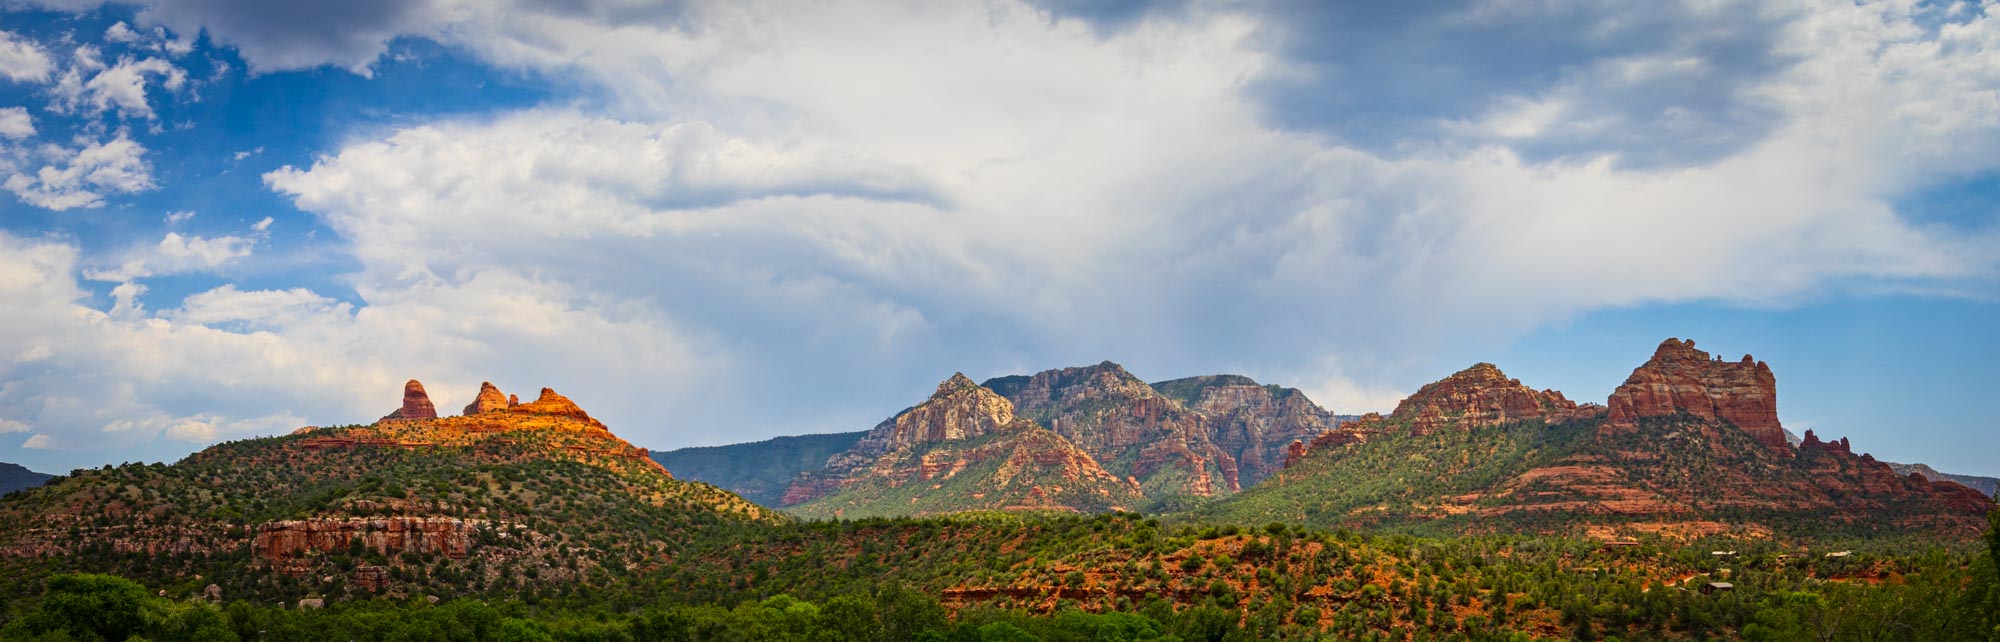
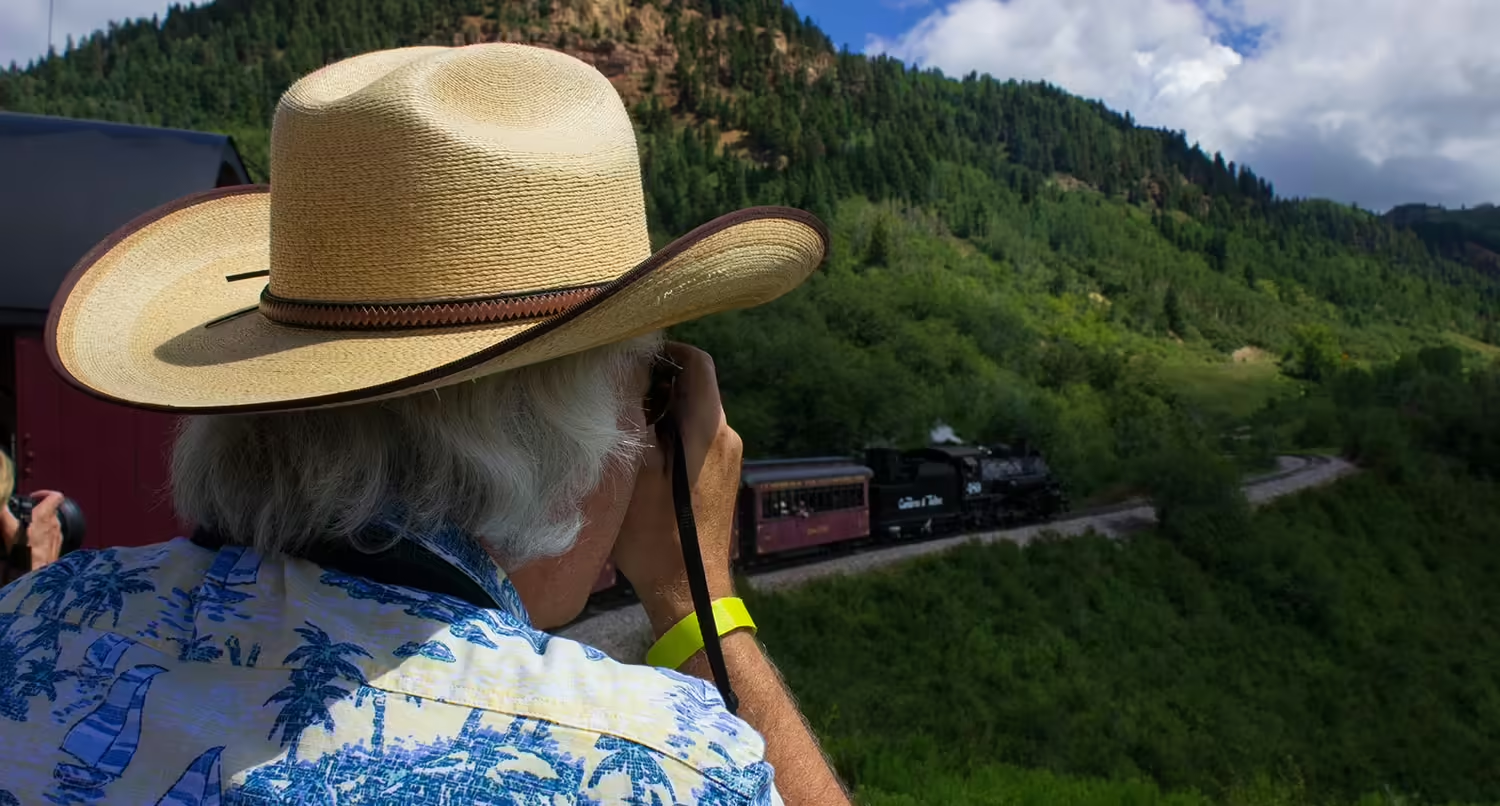
There’s something about going out to a place and trying to find the best way to capture a landscape — whether that’s a mountain range, a canyon, a forest or some other beautiful scene.
And a lot of the time I’m having to go out of the way to take these photos. That means either driving long distances or walking a while to get the shot. And that time away from the computer and technology can do wonders for the mind.
While I’m still far from perfect with my landscape photos, I do have quite a bit of experience with it and have started to develop my own style for it. So in this post I’ll go over some tips for taking landscape photos.
Finding the Right Place
One of the most important things you can do to take the perfect landscape photo is find the right place.
While you can definitely find a way to take an interesting photo of a boring place, it’s a lot easier to take a great photo at a great location.
So you’re going to need to do your research.
Use Google Maps to see photos others have taken of the place and see if it’s interesting. You can also use these photos to get a lay of the land and maybe even find an angle that no one else has taken before.
Also, make sure you know what time sunrise and sunset are at the location. The time right after sunrise and right before sunset are prime times where the lighting is at its best, and will result in the best photos.
Finally, once you get to the location, take some time to walk around and find the right angle. Walk up the trail that might be nearby. Or see if the road goes around to a place with a better angle. But keep the camera packed away when you get there and use your eyes to find the perfect angle to photograph the landscape.
Once you’ve got the angle figured out, it’s time to get the camera out.
Setting Up the Tripod For Landscape Photos
You really need to have a tripod to take landscape photos.
Yes, even if you’re shooting during the middle of the day with a sunny sky, having a tripod can help you in a variety of ways.
First, it can help you make sure your photos are straight and level. Most, if not all, tripods have a level that you can use to make sure your shots are level. And that’s key with landscape photography, your photos need to be level or they’re going to look weird.
Also, it just makes it a lot easier for you. You don’t have to worry about holding the camera the entire time. Plus, it allows you to be able to look around more to find the right photo to best capture the landscape.
So when you’re setting up your tripod, make sure that it’s first level. You can use the legs of your tripod and head of it to make sure it’s level.
And also make sure that your tripod is sturdy and add some weight to it. That way it will stay in place if there’s wind and not move around.
Using a Remote Shutter Release
Another thing you need to add to your kit is a remote shutter release.
When you push down on the shutter while it’s on a tripod, you move the camera a little bit. And if your shutter speed is on the slower side because of lower light or the effect you want to add, that’s going to blur the image a little bit.
The way to get around that is to use a remote shutter release. This way you can release the shutter without touching the camera and without messing up the photo.
And the good news is that it’s never been easier to use a shutter release for your camera. While physical releases that connect to the camera are still a thing, you can also purchase a Bluetooth wireless release that works with your camera or even use an app on your photo to trigger the shutter. I know for sure that Canon has an app that you can use on most, if not all, of their cameras.
So make sure you have a remote shutter release as part of your kit to use for your landscape photos.
Picking the Right Settings for the Camera For Landscape Photos
Now that you’ve got the camera set up, it’s time to get your aperture, shutter speed and ISO figured out to snap the perfect photo.
First, you’re going to want to make sure you’re shooting in aperture priority mode. Between aperture and shutter speed, aperture is far more important. So we want to just focus on changing the aperture size and let the camera decide what the shutter speed should be.
For aperture, you’re going to want to use an f-stop of 9, 10 or 11. This lets the most amount of light into the camera while still keeping everything in focus, which makes it perfect for landscape photos.
Now, your camera will figure out the shutter speed, but if you want to set that manually, you’ll probably need a slightly slower shutter speed to get the correct amount of light into the camera. But you will likely need to play around with it based on the amount of natural light you’re getting from the landscape.
As for ISO, you should ideally have this as low as your camera will allow. If you’re shooting during the day, you should have no problem getting light into the camera, so you won’t really need ISO to help out. And really, no one likes the grain you get from a high ISO anyway.
Once you’ve got those set, it’s time to take the photo.
Taking the Photos
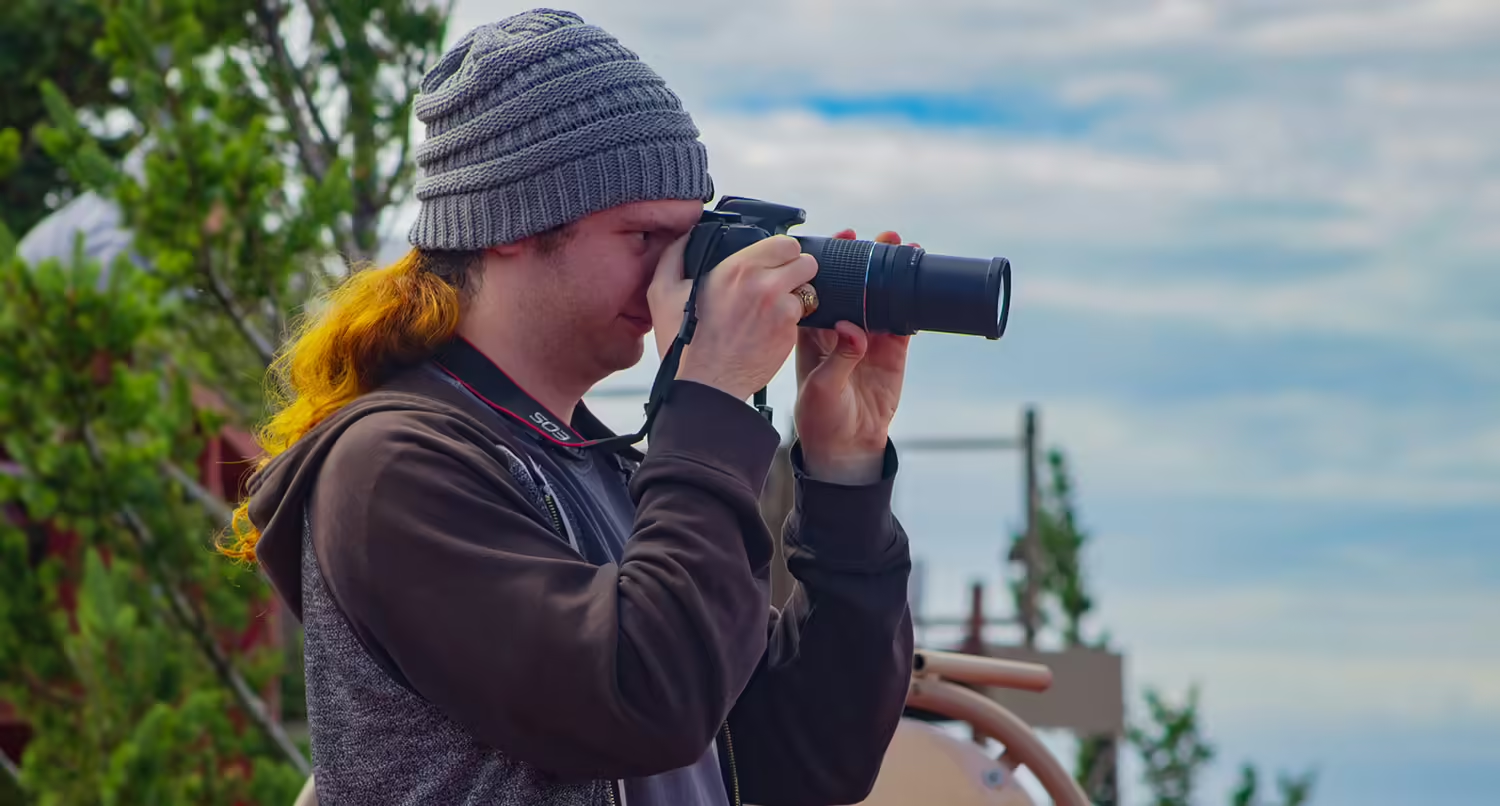
Finally, you need to take the photo.
That seems simple enough and it is, but there are a couple of things to make sure that you do.
First, make sure you use the remote shutter release we talked about earlier so that your image is clear and not blurry because you moved it.
Second, make sure that you’ve set your camera to shoot in RAW format. You will need to use a program like Adobe Lightroom to convert the photo to a JPG file or other file format. But a RAW file gives you a higher quality image and allows you more control when editing the photo to make it look perfect.
Once you’ve got both of those in place, snap several photos so you have options when you go to edit the photos.
Next Steps
Once you’ve got your photos of the landscape you’re capturing, the next step is to go in and edit your photos.
This is probably the second most crucial step in the process after actually taking the photo as this can help enhance what your camera captured.
But that is a whole other topic for another blog post. Stay tuned!
Related Posts

How to Take Marching Band and Drum Corps Photos (as a fan)
It’s mid September which means it’s prime time for marching band season. And if you’re a fan of marching band or the parent of a marcher, you probably want to get good to great photos of them performing this season. But how can you get good photos all the way up in the stands? Let’s…
How to Get Started in Photography as a Beginner
Getting into photography as a beginner can feel like a challenge. There are so many different things to think about. So let’s walk through how you can get started in photography today.
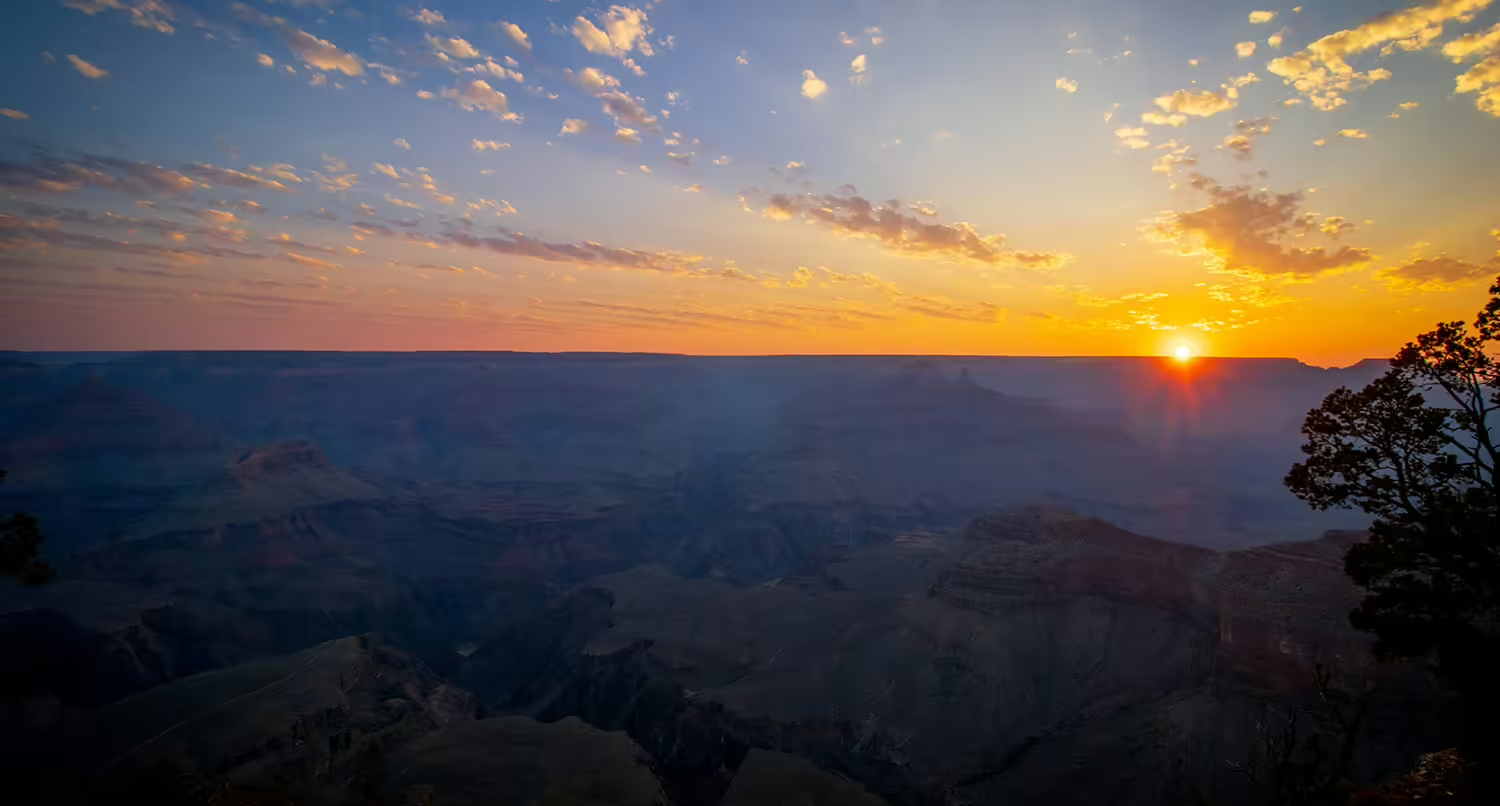
How to Take Perfect Sunset Photos
Sunset photos are some of the best landscape photos you can take. But they can be a challenge to get just right. Here are the top tips for capturing the perfect sunset photo on your next trip.