
How to Create Panoramic Photos in Lightroom
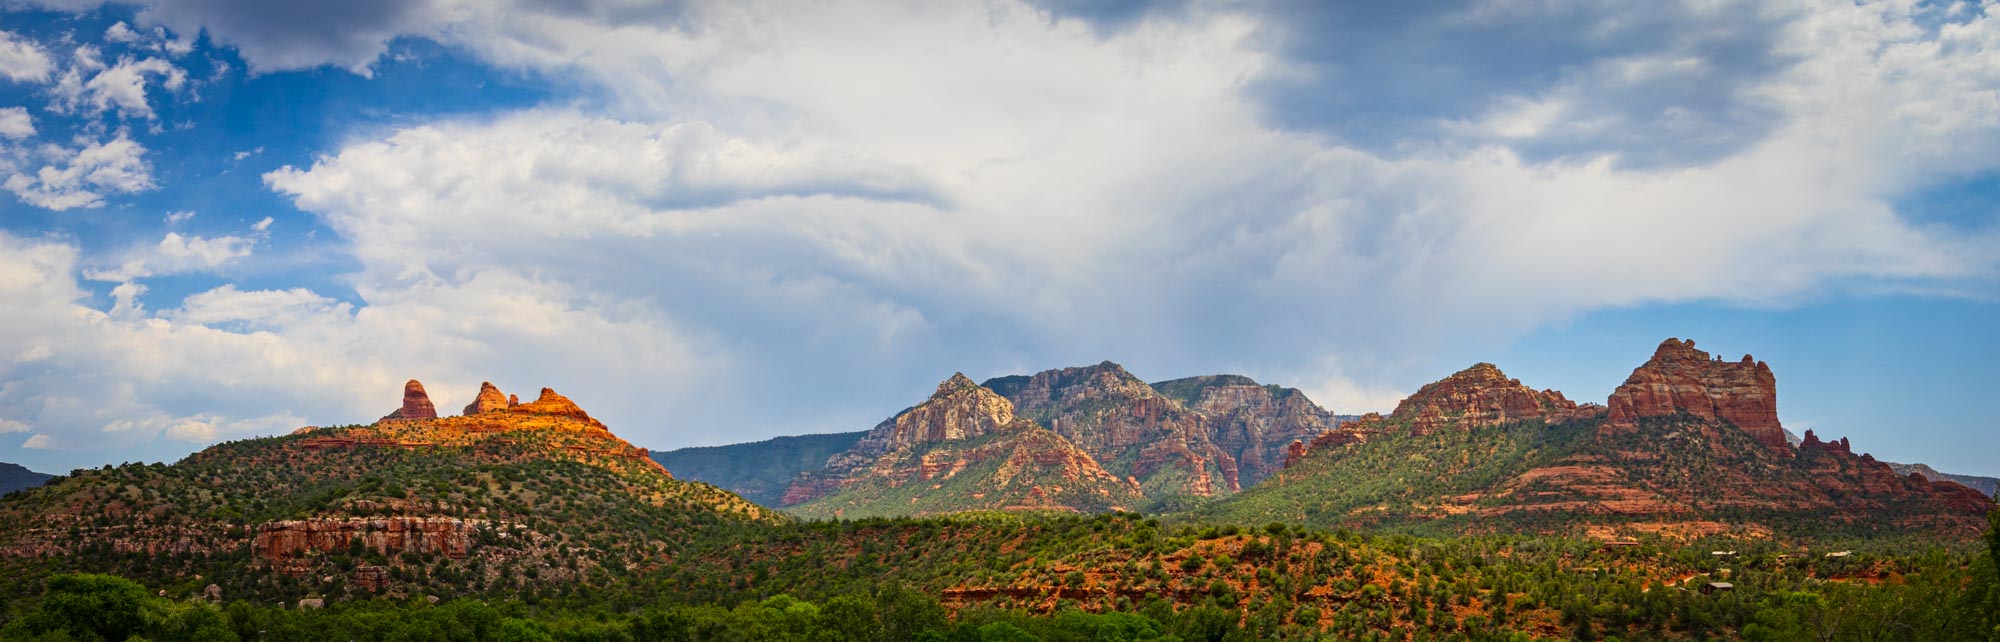
Panoramic photos produce some of the best photography out there.
By taking a panoramic photo, you’re able to show so much more of the scenery than you would with even a wide angle lens.
And if you’re going to be taking scenic and landscape photos, you really need to know how to take panoramic photos and put them together in a program like Adobe Lightroom. If you’re at a place like the Grand Canyon or Yosemite or Pikes Peak, a panoramic photo will really allow you to show off the breathtaking landscape in its true glory.
The good news is that with Lightroom, creating a high-quality panoramic photo is easier than ever.
So let’s dive in to see how you can quickly create your own panoramic photos.
Taking Panoramic Photos
Obviously the first thing you need to do is take the photos you’re going to turn into a panoramic photo.
There are a few things you need to do in order to make sure your panorama turns out as perfect as possible.
First, you need to make sure that all of the photos are on the same vertical plane. That way all of the edges line up perfectly, and the viewer won’t see any weird jumps in the image.
The best way to do this is by using a tripod so you can just move the camera horizontally without worrying about the vertical component. That being said, so far I’ve had more success taking panoramic photos by hand than with a tripod, so you really just need to do what works for you.
Next, you need to make sure that there’s overlap between the photos. That will make sure there’s no gaps in the photos and make it easier for Lightroom to stitch the photos together.
Also, you’ll want to figure out how much you want to zoom in or out for your panoramic photo. I’ve found that for me there’s no one size fits all solution for the photos I take. It all just depends on the scene I’m photographing. But do make sure that you have the same zoom for all of the photos.
And finally, you want the focus to remain the same throughout the photo. So what you’ll want to do is get the first photo in focus and then set your focus to manual for the remaining photos.
Once you’ve got your photos taken for the panorama, it’s time to dive into Lightroom to piece them together.
Importing Those Photos into Lightroom
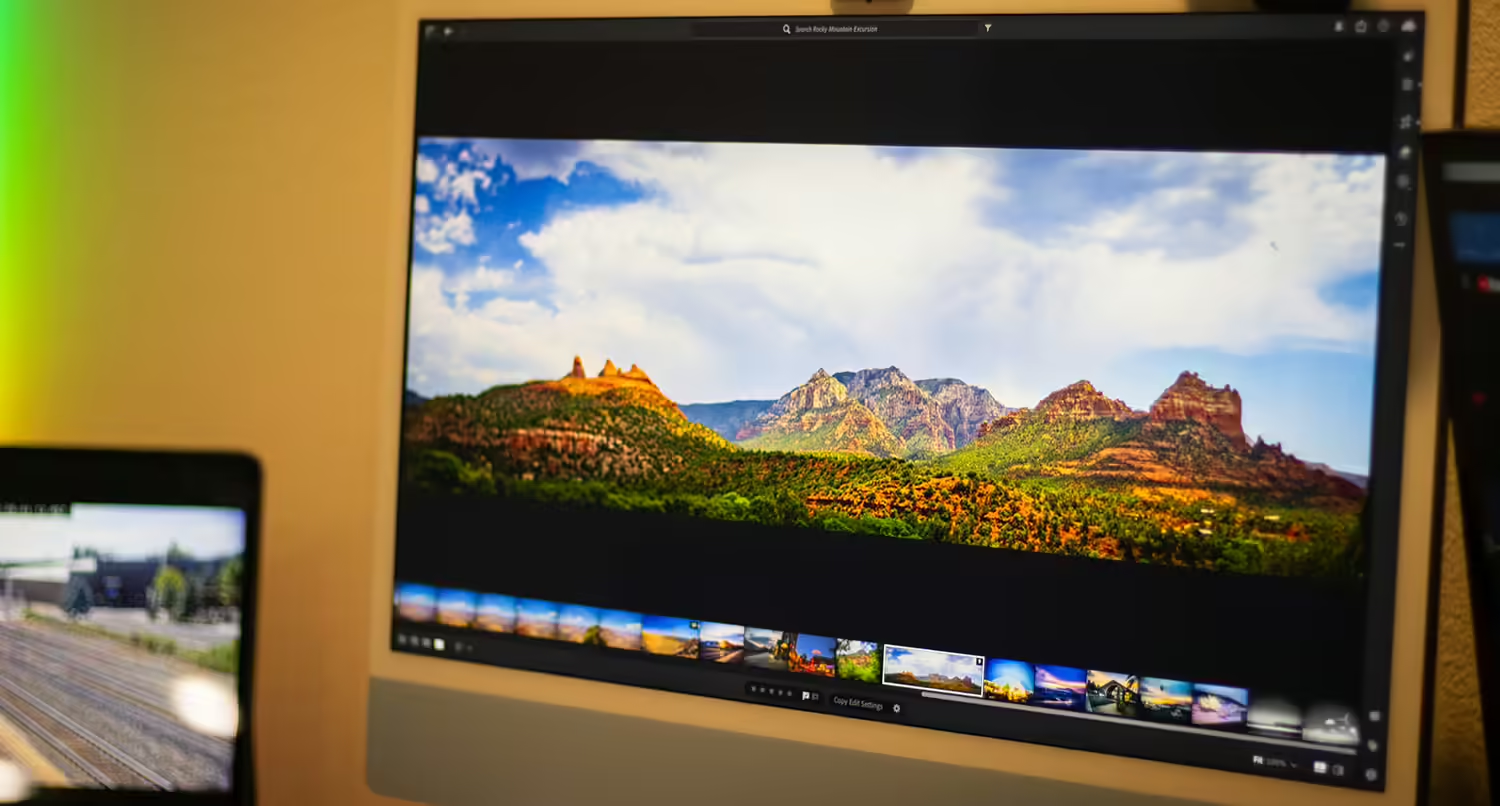
Now that you’ve taken the photos, it’s time to bring them into Lightroom so that we can stitch them together to create the panoramic photo.
To get started, open Lightroom. Next, if you have an album ready for these photos, import the photos to that album. Otherwise, you’ll want to create an album and import the photos to it.
Once you’ve got them into Lightroom, give them a quick once over to make sure that they look good. Be sure to also make sure that they’re all in focus too.
After that, it’s time to create the panoramic photo.
Creating the Panoramic Photo
To actually create the panoramic photo in Lightroom, you’ll need to select all of the photos that will make up the panorama.
Then you’ll right click on one of the photos. In the menu that shows up, hover over “Photo Merge” and then select “Panorama Merge”.
Lightroom will then get to work on merging the photos into a panorama.
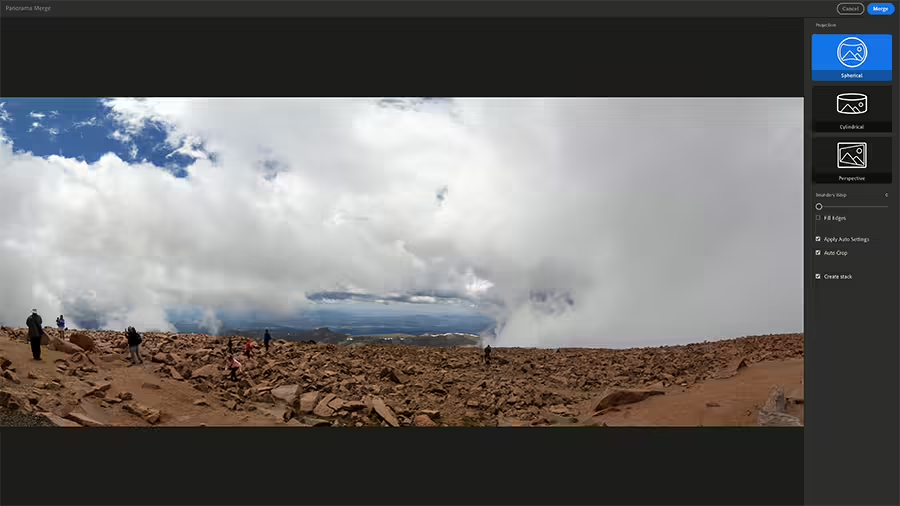
Once it’s done doing that, you have a few options you can choose from to customize how it looks.
First, you can choose between spherical, cylindrical and perspective projection. For me, I’ve found that spherical projection works for the vast majority of panoramic photos I create.
Then you can choose how much border warp there is for the photo. If your photo is a little out of sorts because it’s not completely level, this can help level it out, but it will warp the edges of the photo. The “Fill Edges” option will also do this.
And finally, you can choose auto crop if you want Lightroom to cut out the weird edges to make it completely level without warping.
When you’re happy with how it looks, click “Merge” in the top right corner, and Lightroom will replace all of those photos with this panorama.
Now all you have to do is edit to make it stand out.
Editing the Photo
Once you’ve created your panoramic photo, it’s time to edit it like you would any of your other photos.
You might apply a preset you have to it or manually adjust the settings, like exposure, contrast, saturation, etc. Do whatever you need to do to make the photo really pop.
But no matter how you edit it, congrats on creating your own panoramic photo! Here’s to many, many more that you can proudly show off.
Related Posts
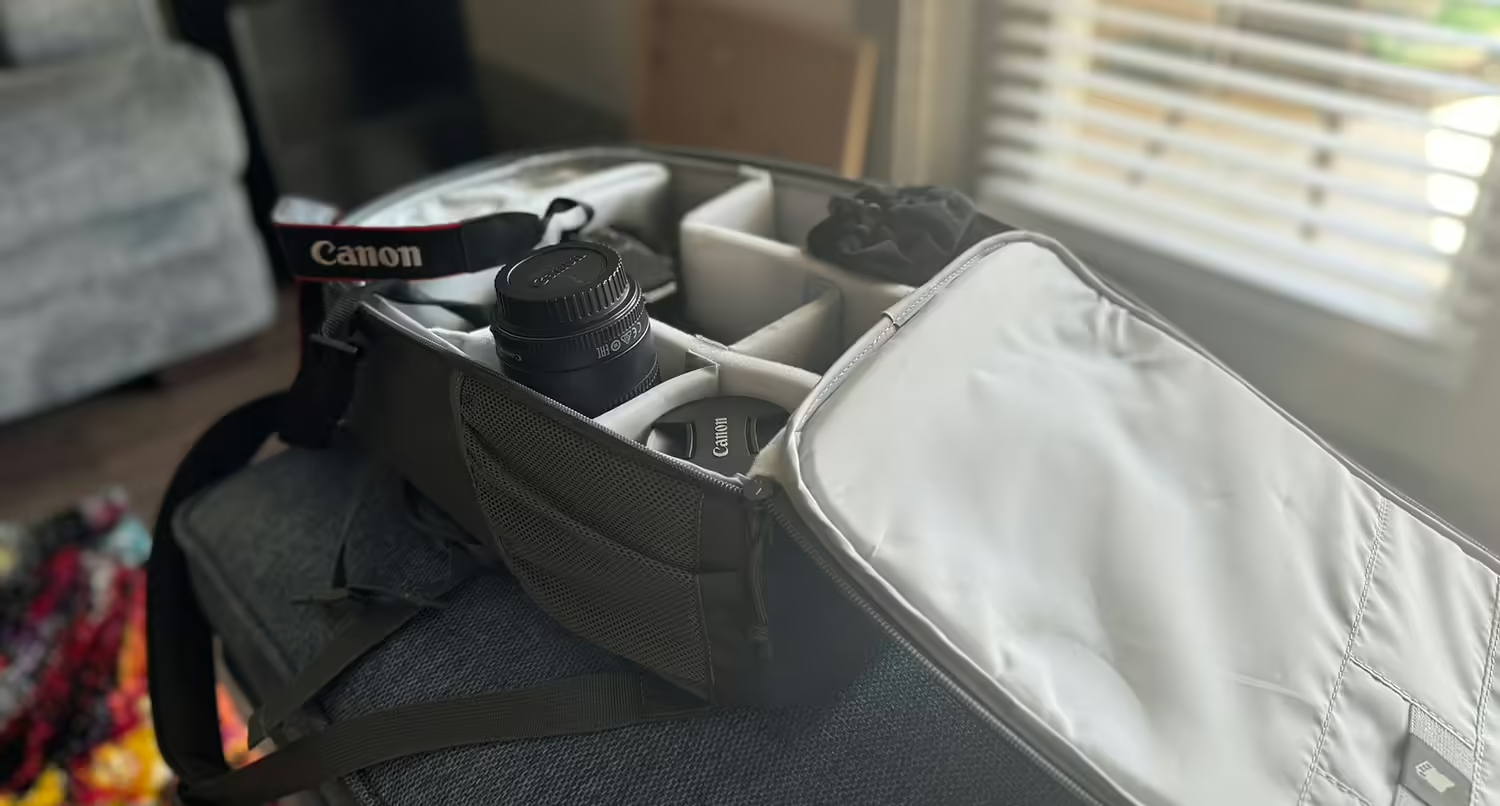
What’s In My Camera Bag?
What’s in your camera bag? It’s a question that a lot of people new to photography ask those who have been doing it for a while so they can get an idea of where to start. So here’s what I have in my bag.

Using Adobe Lightroom to Edit Your Photos
If you’re getting serious about getting into photography as a hobby or something more, one tool you’re going to need in your toolbox is Adobe Lightroom. So let’s dive into the tool and how you can use it to turn your photos into something amazing.

How to Edit Landscape Photos in Adobe Lightroom
After you take your landscape photos, you’re going to need to edit those photos to make them look spectacular. So let’s take a look at how you can use Lightroom to touch up your landscape photos.