How to Get Started in Photography as a Beginner
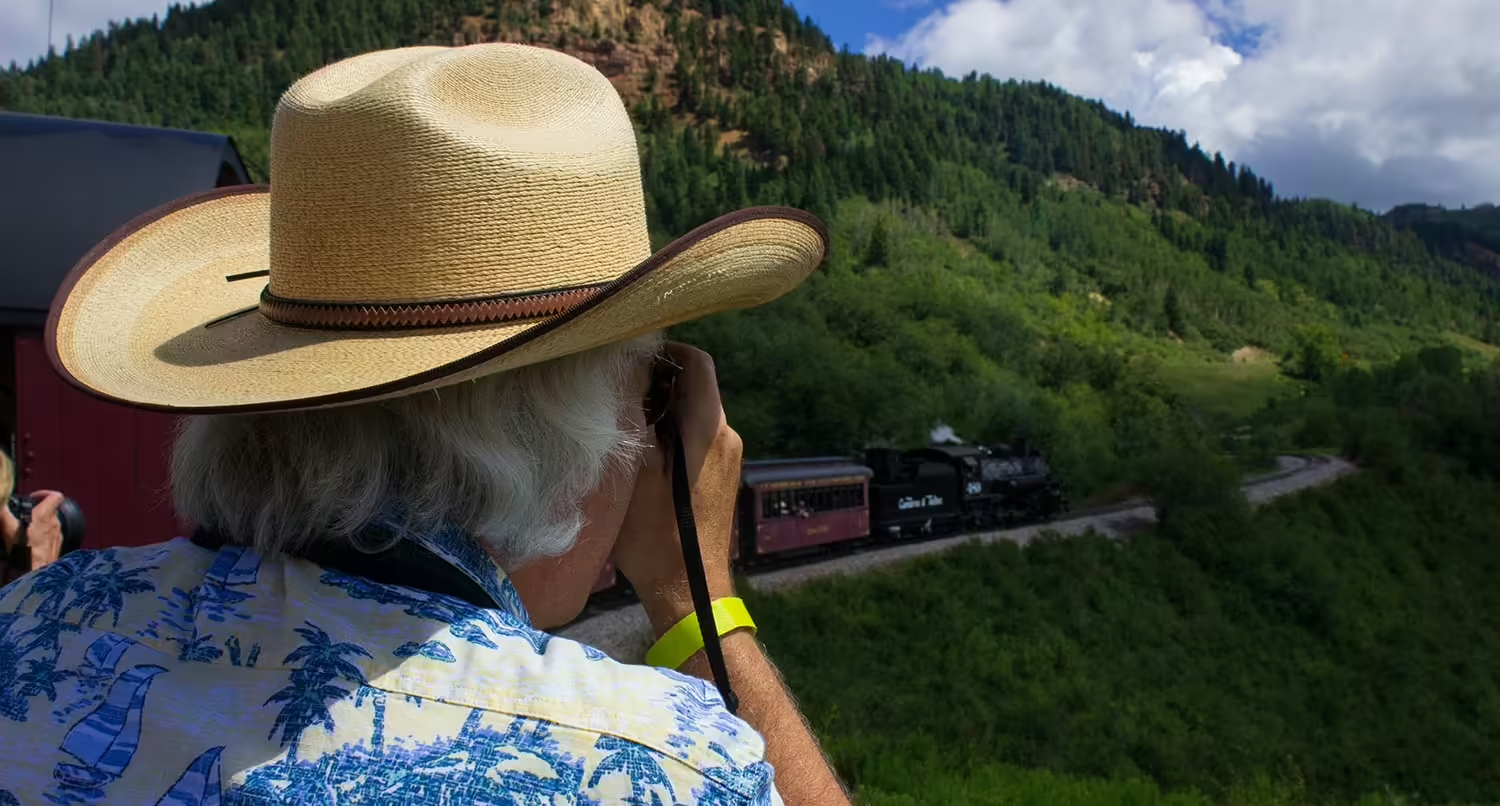
Getting into photography as a beginner can feel like a challenge.
There are so many things to think about. What camera should you start out with? Should you use a simple point and shoot or splurge for a fancy DSLR or mirrorless camera? What lenses should you purchase? What’s the deal with filters? And what software should you use to edit your photos?
The list goes on and on. And it can keep someone from getting their start in photography.
So as someone who has been able to break through those barriers (albeit with the help of a college course) and become somewhat of a semi professional photographer, I want to walk you through how you can get started as a beginning photographer.
This won’t be a comprehensive guide and it won’t answer every question, but I hope that this can be a good starting point for you to get started on your photography journey.
So let’s dive into the world of photography!
Cameras
Obviously the first thing you’re going to need to get started in photography is a camera.
There’s a saying that the best camera is the one that you have on you. And that’s pretty true. As you’ll see as you continue in the hobby, what makes for great photography is not necessarily expensive cameras. Rather it’s having an eye for a good photo and knowing how to compose a great photo.
But having a good camera can make things easier for you.
What camera you should use to get started with really depends on what you want.
If you’re not really sure about photography as a hobby and don’t want to sink a lot of money into it, a point and shoot camera is just fine. These are fairly inexpensive and really easy to get started with. Like the name implies, all you have to do is point your camera at what you want to take a photo of and shoot the shot. From there you can really start to figure out if photography is something you want to do.
On the other hand, if you want something with a little bit more bells and whistles, you can try to get a refurbished DSLR camera. The earlier versions of the Canon Rebel series is a great place to start. While I’ve upgraded to the T8i, the T3i that I started with still works perfectly fine and is a great starting point for any beginning photographer. Plus, refurbished cameras are typically sold at a more affordable price, which makes them ideal starting points.
While cameras are obviously the biggest thing in starting to become a photographer, you have plenty of great options to choose from.
Lenses
Lenses are another big part of starting to learn photography.
Now, if you’ve gone with the point and shoot camera route, you essentially don’t have any choice of lens. You’re stuck with whatever your camera has.
But for DSLR cameras (and even some phone cameras now), you have a wide range of lenses to choose from. In fact, the options are so plentiful that it can lead to decision paralysis.
The good news is that there are really two lenses you should start out with to begin.
The first is an 18-55mm lens. This lens is pretty standard, and almost all DSLR cameras come with this type of lens when you buy them. It allows you to take standard shots and zoom in a bit. It’s perfect for taking a family photo and on nature walks. You’ll definitely be using this one a lot.
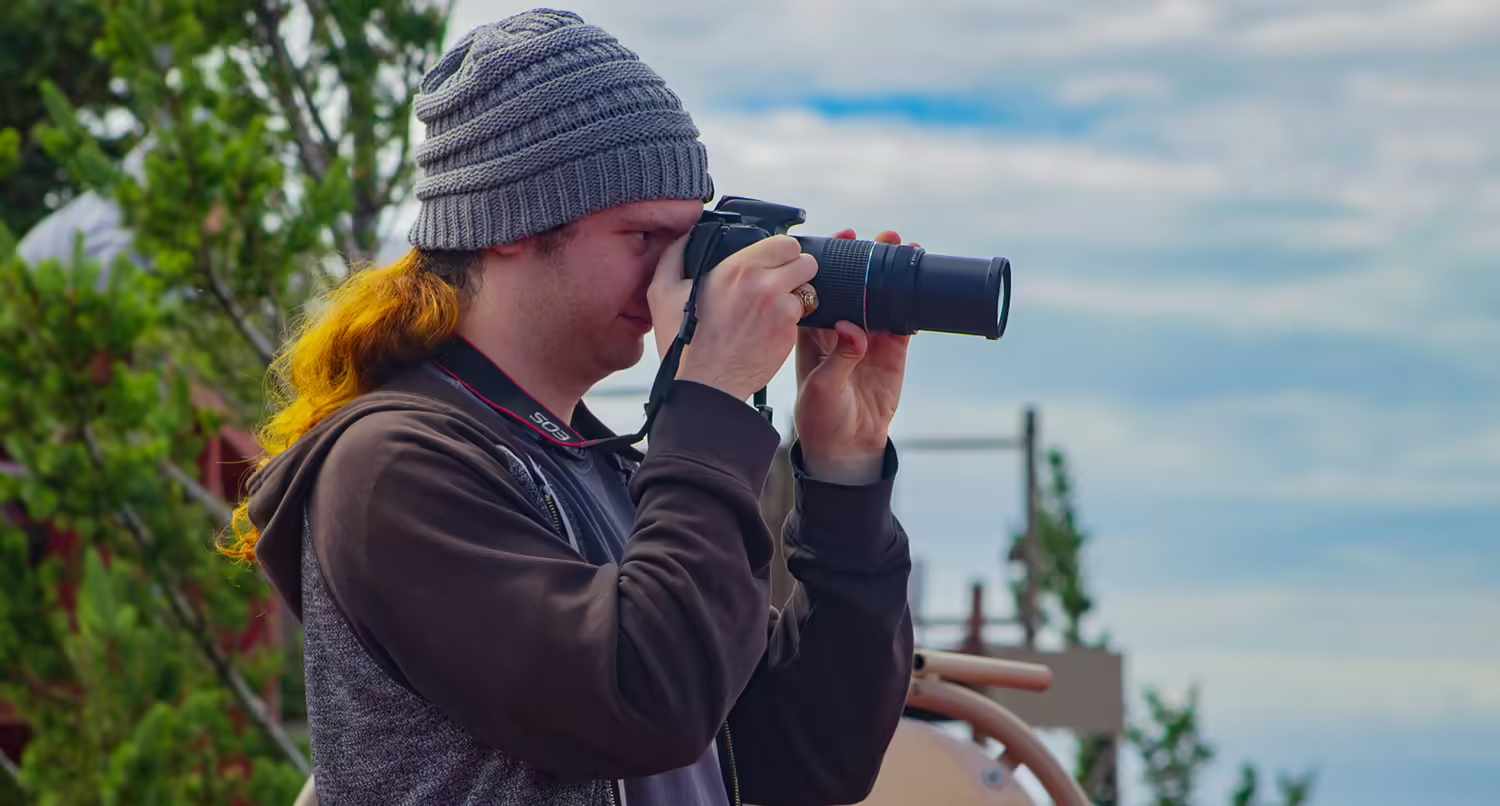
The second is a zoom lens. I have one that’s 75-300mm, which gives me a pretty healthy amount of zoom for photos. But even a 75-200mm lens will more than suffice. This will allow you to zoom way in for photos. Maybe you’re trying to photograph an animal from a safe distance. Or maybe you want to capture a close shot of a faraway landscape. This lens is perfect for that.
Of course, you can add to your arsenal of lenses as time goes on. I’ve added a 50mm lens for portraits and a 10-18mm wide angle lens for landscape photography.
As you continue to get better at photography, you’ll discover what other lenses you need to add to your camera bag. But those two lenses are something everyone should start with.
Tripods
You’re also going to want to have a tripod on hand for photography as well.
How much you’re going to use your tripod is going to depend on what type of photography you do. For example, if you’re taking landscape photos, you’re going to need to use your tripod a lot so you get crisp, clear photos no matter how slow your shutter speed might be. On the other hand, if you’re doing more portrait or candid photography, you probably won’t be using it much since it’s easier to shoot by hand.
Still, a tripod is a great thing to have on you so that you can take great images when your shutter has to stay open longer.
The good news is that starter tripods can be pretty cheap. You won’t have to shell out a ton of money for them.
Just make sure you get one that’s sturdy and/or has a way for you to add weight to them so they don’t move around in the breeze.
But it’s a great thing to have in your photography arsenal as you start.
Filters
Additionally, there are a lot of filters you can add to your lens to affect the photos you take.
Really, as a beginner though, there are only two filters that you should be concerned with.
The first is a neutral density filter. This filter blocks light from getting into the camera for the photo. This can come in clutch when you’re dealing with harsh sunlight and a slower shutter speed. For example, if you’re taking a photo of a waterfall in the day with a slower shutter speed and don’t want the photo to be oversaturated, you would use a neutral density filter to regulate the amount of light coming through the lens.
Different neutral density filters block different amounts of light, so you’ll have to play around with them to see what works best for you. Or you could try to get a variable neutral density filter that you can adjust on the fly.
The other type of filter you’ll probably want is a UV filter to protect your lens from the sun, though this will add a tint to your photos. To be honest, I haven’t really used this filter much, but it’s better safe than sorry to have it.
And like with lenses, you can add more filters to your setup depending on what you want to do and what works best for the photos you take.
Software
Since you’re more than likely going to be using a digital camera, you’re probably going to need some sort of software to edit your photos.
And the truth is that you’re going to need to edit your photos at least a little bit before publishing them. You’ll need to adjust the exposure and contrast, maybe add a little bit of saturation to make it pop more, and you’ll probably need to crop it a bit too.
Plus, if you’re shooting photos in a RAW format (which is highly recommended), you’ll need to convert them to a JPG before you can post them online.
The industry standard for this is to use Adobe Lightroom. Lightroom allows you to import photos that you’ve taken and edit them to really make them stand out. You can change the exposure, contrast, saturation, color tint and more to give them the perfect look that you want.
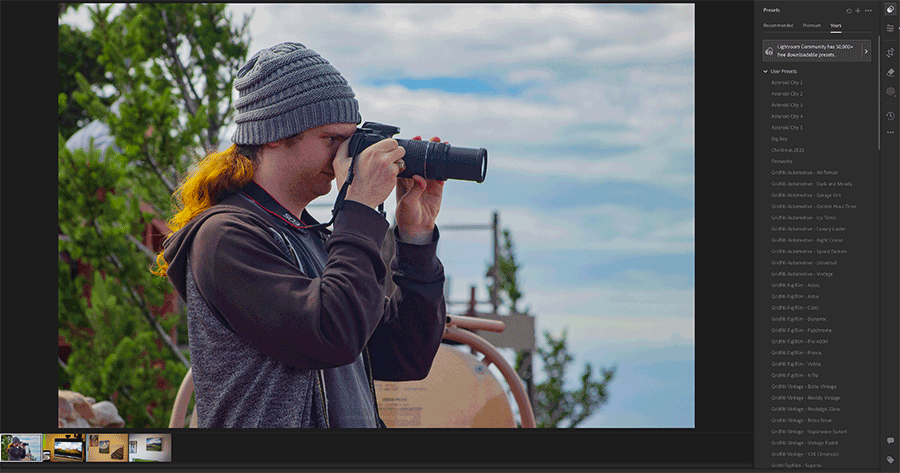
And you can create your own presets or import presets to help you give you a head start when editing your photos.
Also, it features other powerful tools like photo merges and panorama merges to help you combine your photos to create an incredible photo.
Unfortunately, there is a monthly subscription fee that you have to pay to use Lightroom. You can use Lightroom by itself for $9.99 a month, but you can also bundle Photoshop with your subscription for the same price. That’s not too bad of a deal.
Plus, depending on the subscription you choose you’ll also get storage space in the Adobe Cloud for your photos.
All in all, it’s one of the best tools you can have in your photography tool belt that isn’t your camera.
Thinking About Composition
The number one thing that can help you take better photos right from the start is to understand photo composition.
A camera might help you marginally take better photos, but you can still take a great photo with your phone if you compose it just right. Conversely, you can take a really bad photo with a fancy camera if you don’t do it right.
Composition is the key to any great photo.
And you don’t have to have a degree in photography to understand composition.
There is one key and easy concept you need to know as you start your photography journey.
The first is the rule of thirds. The idea behind this is to draw two lines vertically that divide the photo into thirds and two horizontal lines that divide the photo into thirds. You then want to place your subject at one of the intersections of those lines. The end result is a much more interesting photo than just centering the subject.
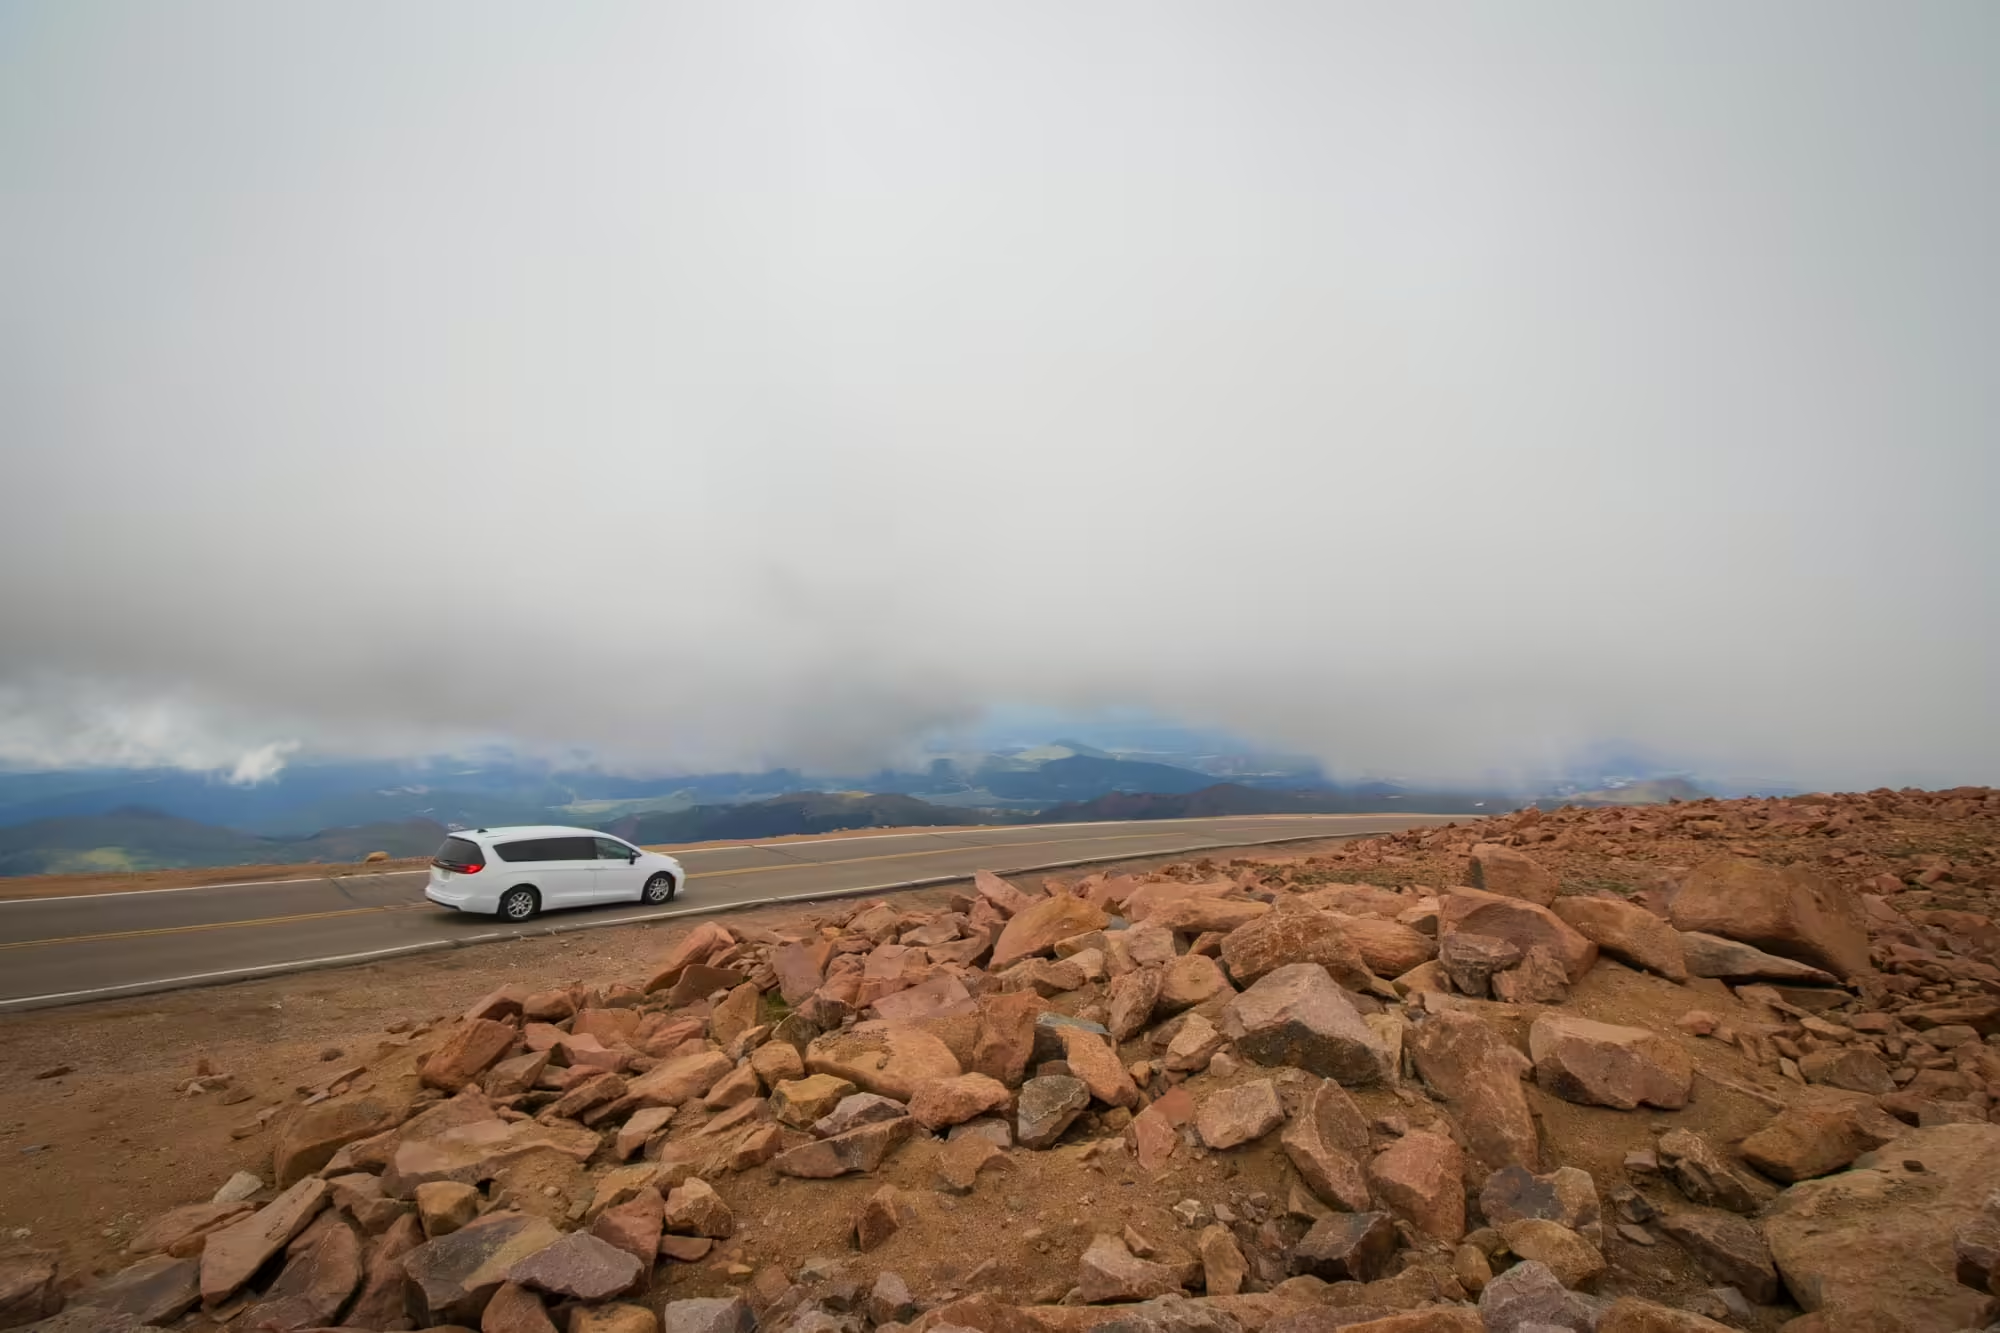
From there you can take deep dives into the other ways you can compose photos that are more interesting than a standard, boring shot.
So definitely take some time to learn how you can compose better photos. It will have you taking much more interesting photos in no time.
Take a Lot of Photos
The best thing you can do when starting photography is to take a lot of photos.
With digital cameras and SD cards these days, you can take a ton of photos and not have to worry about storage space. So use that to your advantage.
The more photos you take while you’re out, the better your chances are of taking that perfect photo that looks amazing. For any one scene or landscape I’m shooting, I take at least five photos. That way I have more options when I sit down to edit those photos.
You always want to have the most options available.
And the other part is that the more photos you take, the better you’ll get at photography.
You’ll start to understand how the aperture and shutter speed work together to capture the right amount of light for a photo. You’ll start to understand how to compose a photo and what works and doesn’t work when taking a photo. And you’ll start to transition from a beginner to a more experienced photographer.
Make sure you’re taking as many photos as you can when you’re out in the field.
Just Do It
At the end of the day, the best way to get started in photography as a beginner is to just go outside and do it.
You can buy all the equipment you want, take as many online courses as you want, watch as many YouTube videos as you think you need and so on.
But there is no substitute for just going outside and taking photos.
Start by walking around your neighborhood and taking photos of the different things you see. Try to look at your neighborhood in a different light and take photos that capture that.
Or maybe you can go and walk around a local park, capturing nature in action. Go during the evening golden hour and see how you can take cool photos that combine the light and the nature.
Or you could walk around your town’s downtown area, filling the frame with people going about their everyday lives. You never know where the perfect photo might be hiding.
The point is you just need to go outside and take photos. That’s the only way you’re really going to get better at photography. The more photos you take, the more you’re going to learn what does and doesn’t work and the better your photos will look.
So take this as a sign to just take the jump and start becoming a photographer today!


