
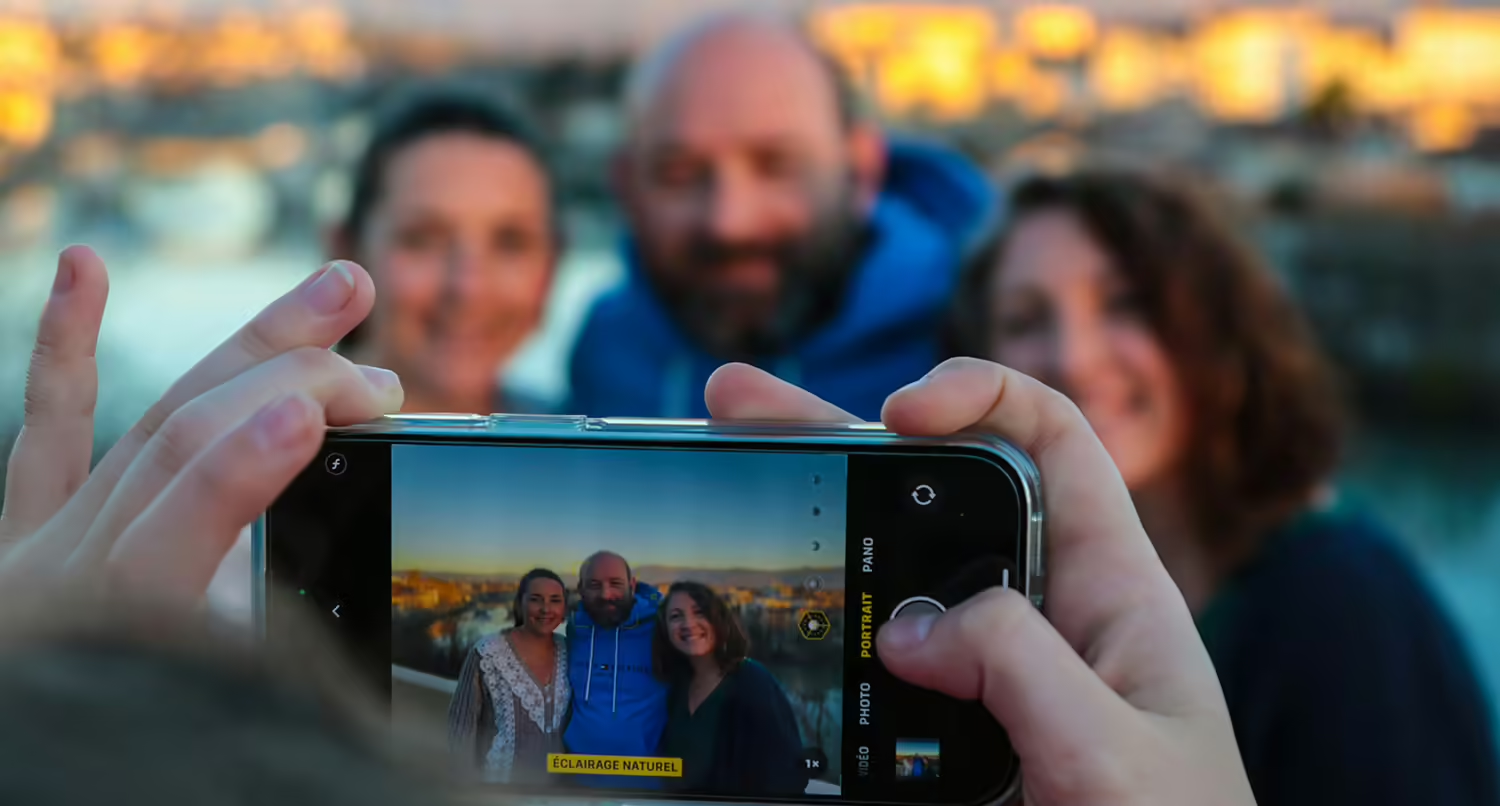
How to Take Perfect Sunset Photos
Sunset photos are some of the best landscape photos you can take.
There’s something about the array of colors that come out as the sun begins to sink below the horizon. And add in some puffy clouds and a striking landscape and you’ve got the perfect sunset photo to share and maybe even sell.
But capturing that amazing sunset photo is no simple task. While anyone can pull their phone out and capture the sunset, getting a spectacular sunset photo takes a lot of work, from making sure you’re in the right place to using the right tools and even making the right edits to really make it stand out.
So let’s dive in to discuss how you can take amazing sunset photos tonight.
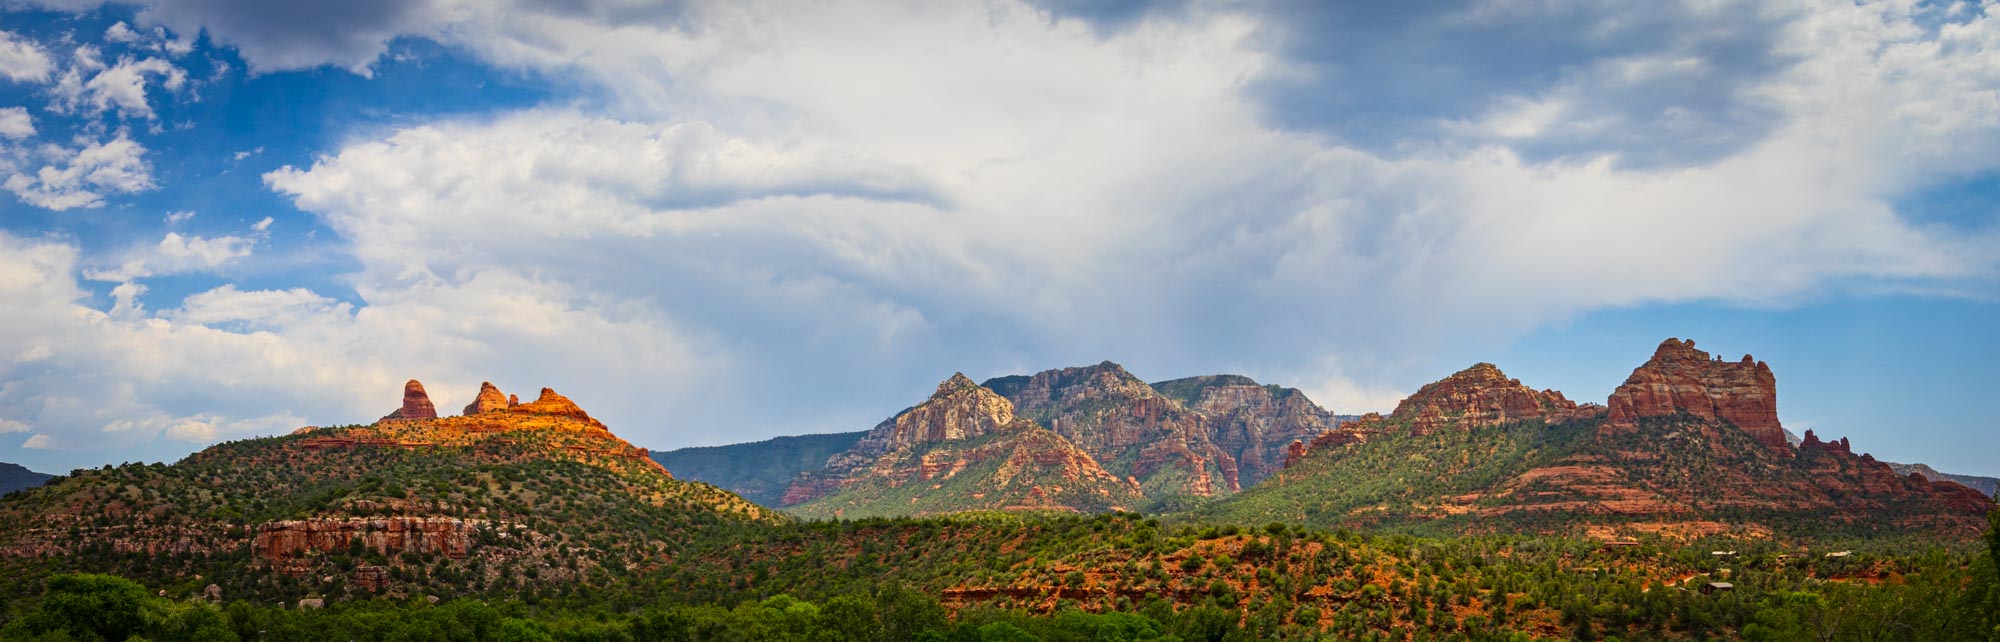
Research Your Location for the Best Sunset Photos Spots
One of the most important things you need to do to get a great sunset photo is to research a great location to take said photo.
A spectacular landscape — like a mountain, valley, canyon, beach, etc. — can greatly enhance your photo to make it stand out from all of the other photos that are out there.
A mediocre landscape, however, can drag down a photo, even if the sky looks amazing.
So you need to do your research to figure out a great location.
Take some time to look through Google maps to find a location to shoot from. You can look through the photos that other people have taken and, if possible, use street view to get a 360 look at the surrounding landscape for yourself.
When you go to take the photo, get to the location at least an hour before sunset. This will give you a lot of time to walk around the area to find the absolute perfect spot to take your amazing photo. That might be right at a pullout area or it might be a mile down a trail.
But if you want the absolute best sunset photo, you need to make sure you have a great location.
Use a Tripod for Better Sunset Photos
While you can take sunset photos by hand and be mostly fine, you’re going to want to use a tripod for the absolute best results.
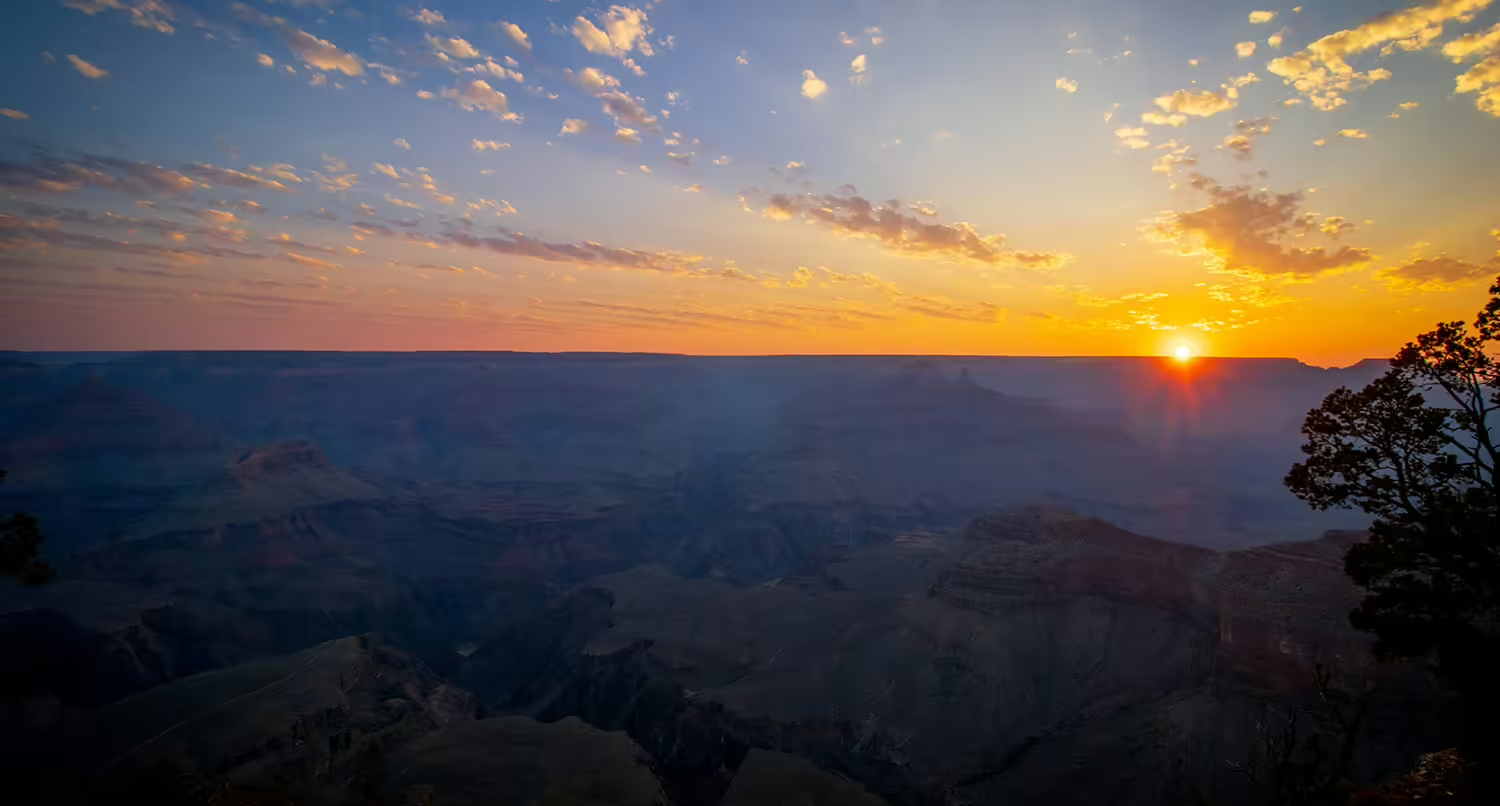
Because of the fading light, you’re probably going to need a slower shutter speed to get the right amount of light into the camera. For example, my sunrise photos at the Grand Canyon had a shutter speed of roughly 1/40 of a second.
That might seem quick, but it’s just enough time that a slight movement of the camera will blur the image.
You can avoid that by using a tripod.
That way you can set up the camera and not have to worry about holding the camera steady while the shutter does its thing.
Plus, using a tripod allows you to put the camera down and look around with your eyes to find the best angle and the best photo of the sunset.
Use a Remote Shutter Release
Along those same lines with using a tripod, you’re also going to want to use a remote shutter release to make sure you end up with a clear, sharp sunset photo.
Even when you’re using a tripod, you can still make the image blurry when you press the shutter button. That slight dip you cause when you press the button can move the camera just enough to create a blurred image — or at least enough blur in the image to make it unusable.
That’s where a remote shutter release comes into play.
With a remote release, you can take the photo without ever pressing the shutter button. Instead, the camera releases the shutter for you.
While there are still cable shutter releases, today’s technology allows you to use a Bluetooth shutter release or even use your phone as a release. I know Canon has an app that allows you to do that for most, if not all, Canon cameras.
There’s really no reason why you shouldn’t use a remote shutter release to take your sunset photos.
Use UV Filters or Neutral Density Filters
UV and neutral density filters aren’t required for sunset photos, but they can be a big help in getting a great photo.
Considering you might be pointing your camera in the direction of the sun for the photo, a UV filter can protect your camera lens and lessen the direct light into your camera from the sun.
As for neutral density filters, they do roughly the same, limiting the amount of light getting into the camera, which should also help with the slower shutter speed.
The end result is that you should be able to see more of the scenery and the sky around the sunset instead of just the sun.
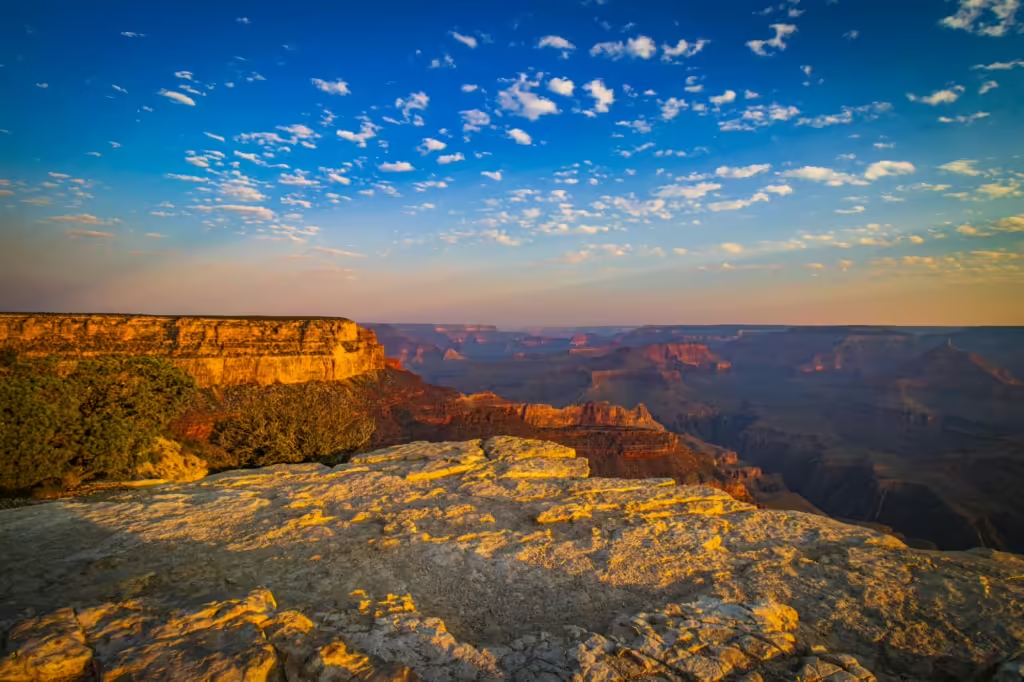
If you don’t have one of those filters, don’t worry. The shallow sun angle means more of the atmosphere is filtering the light anyway. Below is a sunrise photo I took at the Grand Canyon without any filters. So just because you don’t have a UV or neutral density filter doesn’t mean you can’t take great sunset photos.
But it is a nice thing to have.
Use Aperture Priority Mode
You’re also going to want to make sure that your camera is in aperture priority mode when you’re taking your sunset photos.
You need to make sure that the entire landscape is in focus with these types of photos. And for that you need to use aperture mode so that you can specifically set the aperture. The camera will then determine the shutter speed needed to get a great shot.
As for the aperture size you’ll need for a sunset photo, you want to aim for an f-stop of 9, 10 or 11. These sizes allow you to get as much light in for the photo as possible while still keeping everything nice, crisp and in focus.
That also means you’re probably going to have a slower shutter speed to compensate for additional light to get a clear photo, which is where the tripod we talked about earlier comes into play.
Take as Many Photos as Possible
You can never take too many photos to try to capture the perfect sunset photo or any other sunset photo for that matter.
While you might think that you’ve just taken the perfect photo while you’re in the field, you might find issues with it when you’re back editing it on your computer. And if that’s the only one you took, then you’re out of luck and you’ve wasted your time and effort.
This is where the digital age comes into your advantage.
With film, you’re limited to the physical amount of film that you have with you, and it can be quite expensive. So you want to limit the amount of photos you take.
But with digital cameras, your limit is the size of your SD card. With 64 gigabyte and 128 gigabyte SD cards, you can take an almost unlimited amount of photos.
So use that to your advantage and take a lot of photos. That way you have options, and you’re more likely to take the absolute perfect sunset photo.
Use Lightroom to Edit Your Sunset Photos for the Perfect Look
Finally, you’re going to need to touch up your sunset photos to help them pop and stand out even more.
While it’s crucial to get the photo right when you’re taking it and no amount of editing in Lightroom is going to save a poorly taken photo, touching up the photo by adjusting the exposure, contrast, saturation, highlights, shadows and other settings can really create the perfect photo for you to show off.
How exactly you edit the photos is really up to you. A lot of it is just trial and error. The good news is that in this digital age, if you make a change that you don’t like, you can simply undo it and try something else.
One tip to make editing a large group of sunset photos is to get one just right with all of the settings and then copy and paste those settings onto the other ones. From there you really should only need to make small adjustments for each photo, which will save you time in the long run.
But if you follow all of these tips, you should be well on your way to taking amazing and stunning sunset (and even sunrise) photos!
Related Posts

How to Edit Landscape Photos in Adobe Lightroom
After you take your landscape photos, you’re going to need to edit those photos to make them look spectacular. So let’s take a look at how you can use Lightroom to touch up your landscape photos.
How to Take the Perfect Christmas Card Photo
It’s finally November, “All I Want for Christmas” is playing and you’re trying to figure out one thing: how to take the perfect Christmas card photo this year. It can be a challenge. But here’s a simple guide for taking the perfect photo for your card this Christmas season.
Tips on How to Take Landscape Photos
Landscape photos are some of my favorite type of photos I take. There’s something about going out to a place and trying to find the best way to capture a landscape — whether that’s a mountain range, a canyon, a forest or some other beautiful scene. So here are some tips for how you can…